Preparation is Key Painting Diecast Rims
Painting diecast car rims can significantly enhance the look of your miniature vehicle, transforming a simple model into a stunning display piece. However, achieving professional-looking results requires meticulous preparation. This initial stage is crucial because it lays the groundwork for the paint to adhere properly and provides a smooth, durable finish. Rushing this step often leads to peeling, chipping, or an uneven appearance, which detracts from the overall aesthetic. Proper preparation involves gathering the right supplies, carefully disassembling the model, thoroughly cleaning the rims, and preparing the surface for paint adhesion. This comprehensive approach ensures that your efforts will yield a satisfying and long-lasting outcome.
Gathering Your Supplies
Before you begin, gather all necessary materials. Having everything on hand will streamline the process and prevent interruptions. The right supplies can make the difference between a mediocre outcome and a truly impressive finish. This includes selecting the appropriate paint, choosing the right tools, and ensuring you have a clean, well-ventilated workspace. The quality of your materials will also impact the final result, so choosing high-quality products is important for durability and appearance.
Choosing the Right Paint
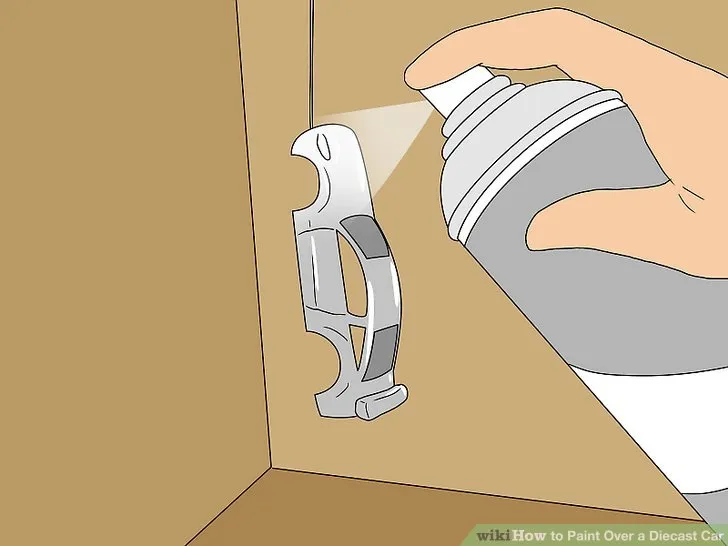
The type of paint you select is paramount to the success of your project. For diecast car rims, acrylic paints are generally recommended due to their versatility, quick drying times, and ease of use. They adhere well to various surfaces and are available in a wide array of colors and finishes. Enamel paints are also an option; however, they typically take longer to dry and may require more careful application. Consider the finish you desire – matte, satin, or gloss – and choose a paint that offers the desired aesthetic. Always check the paint’s compatibility with plastics and metals commonly found in diecast models. It’s also important to note that the use of spray paints is highly recommended to create a smooth and even coat.
Essential Tools You’ll Need
Beyond paint, several tools are necessary. You’ll need fine-grit sandpaper (e.g., 400-grit or higher) for surface preparation, a primer specifically designed for metal or plastic, paintbrushes (various sizes), or a small airbrush for even application. A clean workspace, masking tape, a hobby knife or precision tool, and a suitable solvent for cleaning are also essential. Safety gear, such as a respirator, gloves, and eye protection, is crucial to protect yourself from paint fumes and particles. These tools, when used correctly, will contribute to a higher quality finished product.
Disassembly and Cleaning the Rims
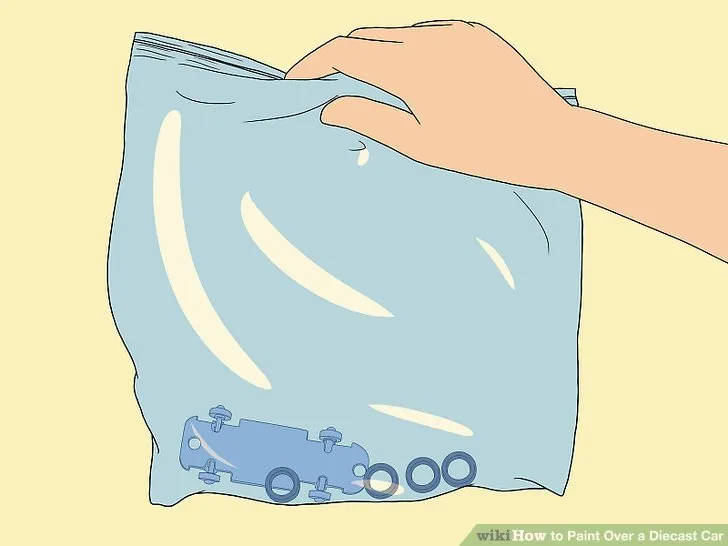
Before painting, carefully disassemble the rims from the diecast car. This may involve removing the wheels from the axles, which typically requires gentle prying or unscrewing, depending on the model’s design. Disassembly allows you to access all areas of the rim for thorough cleaning and painting, and it prevents paint from accidentally getting on other parts of the model. Taking apart the wheels ensures the best possible paint job. Be sure to store any small parts in a safe place during this process.
Removing the Wheels
Carefully detach the wheels from the car body. This step might involve unscrewing the axles or gently prying the wheels off. Work slowly and with care to avoid damaging any part of the car or the wheels themselves. If the wheels are glued in place, you may need to use a solvent to soften the glue or gently pry them off using a hobby knife. Once the wheels are removed, you can move on to cleaning the rims and preparing them for painting. This will allow full access to all surfaces of the rim, leading to a better end result.
Thorough Cleaning
Cleaning the rims is a critical step in preparation. Use a mild soap and water solution to remove any dirt, grease, or residue. After washing, rinse the rims thoroughly and allow them to dry completely. For stubborn grime, you might use a specialized degreaser. Ensure all surfaces are spotless before proceeding; this will promote paint adhesion and prevent imperfections in the final finish. Any contaminants left on the surface can cause the paint to peel or bubble, ruining your paint job and all your hard work.
Surface Preparation
Surface preparation is vital for ensuring paint adheres correctly. This stage often includes sanding and priming, each playing a specific role in the overall outcome. Sanding creates a slightly rough surface, promoting mechanical adhesion of the paint, while priming provides a base that enhances paint adhesion and uniformity.
Sanding for Adhesion
Use fine-grit sandpaper (400-grit or higher) to lightly sand the rims’ surfaces. This process removes any remaining imperfections and creates a slightly textured surface for the primer and paint to adhere to. Avoid sanding aggressively, as this can damage the details of the rims. Focus on creating a uniform surface that the paint can effectively bond with. After sanding, clean the rims again to remove any sanding dust.
Priming the Rims
Apply a thin, even coat of primer specifically designed for metal or plastic surfaces. Primer improves paint adhesion, provides a uniform base, and can also help to hide any minor imperfections. Apply the primer in thin coats, allowing each coat to dry completely before applying the next. This helps to prevent runs and drips. Once the primer is dry, you can start painting the base color.
Painting the Diecast Rims
Once the rims are prepared, the painting phase can begin. This involves applying the base coat, allowing it to dry, and then applying a top coat to achieve the desired finish. Attention to detail and patience during this process are key to a successful paint job. Spray painting is generally recommended for achieving a smooth, even finish, but you can also use brushes if you are comfortable with that technique. The quality of your paint job will reflect in the appearance of your diecast rims.
Applying the Base Coat
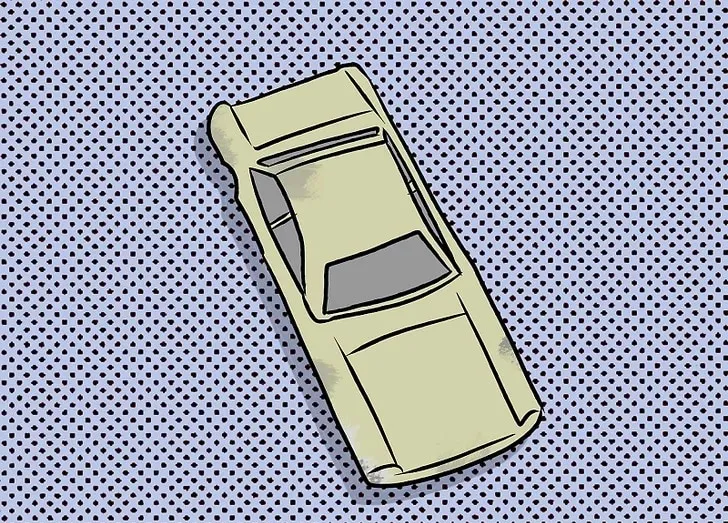
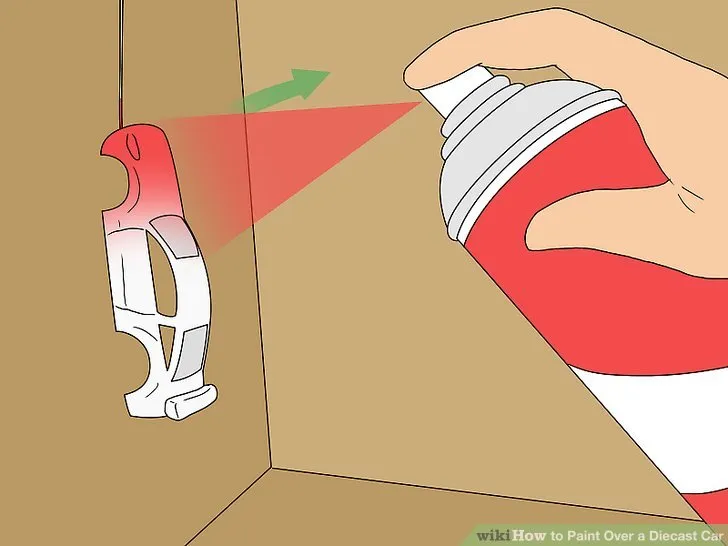
Apply the base coat using your chosen paint. Apply multiple thin coats rather than one thick coat, as this reduces the risk of drips and runs. Hold the spray can or airbrush at a consistent distance from the rims and move in a smooth, even motion. Allow each coat to dry completely before applying the next. This method ensures an even color distribution and helps the paint adhere well to the primed surface.
Multiple Thin Coats
Building up the color with several thin coats is the best approach. Avoid the temptation to apply a single, thick coat to save time. Multiple thin coats provide better coverage, minimize the chances of imperfections, and promote a more durable finish. Each layer should be allowed to dry fully before the next is applied, typically following the manufacturer’s instructions. This will prevent runs and ensure the paint bonds properly with the surface.
Allowing Drying Time
Patience is critical during the drying process. Allow each coat of paint to dry completely before applying the next coat or moving on to the next step. Drying times will vary depending on the type of paint, humidity, and temperature. Refer to the paint’s instructions for specific recommendations. Touching the paint before it is completely dry can cause fingerprints and ruin your hard work. Proper drying is essential for achieving a professional finish.
Applying the Top Coat
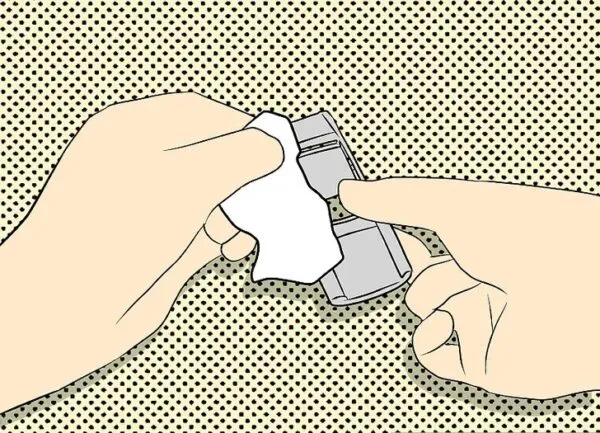
Once the base coat is dry, apply a top coat to achieve the desired finish and provide additional protection. The top coat enhances the appearance of the rims and helps protect the paint from scratches and wear. The choice of the top coat depends on your preference, such as gloss, matte, or satin finish. Applying multiple thin coats of the top coat is also recommended for the best results.
Choosing a Finish
The finish of your top coat can significantly impact the look of your rims. A gloss finish provides a shiny, reflective appearance, while a matte finish offers a more subdued, non-reflective look. Satin finishes offer a balance between the two. Choose a finish that complements the overall aesthetic of your diecast car. The finish can also affect durability; gloss finishes tend to be more scratch-resistant than matte finishes. Consider the desired style and level of protection when selecting a finish.
Protecting with Clear Coat
Applying a clear coat after the base and top coats adds an extra layer of protection and can enhance the overall appearance. The clear coat helps to seal the color, making it more resistant to scratches, UV damage, and the general wear and tear. Apply the clear coat in thin, even coats, allowing each coat to dry completely before applying the next. This will ensure a smooth, durable finish that protects the paint for a long time.
Reassembly and Final Touches
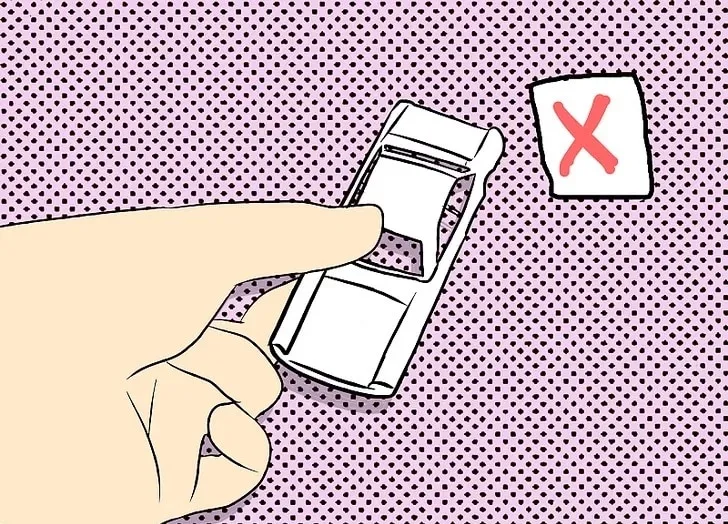
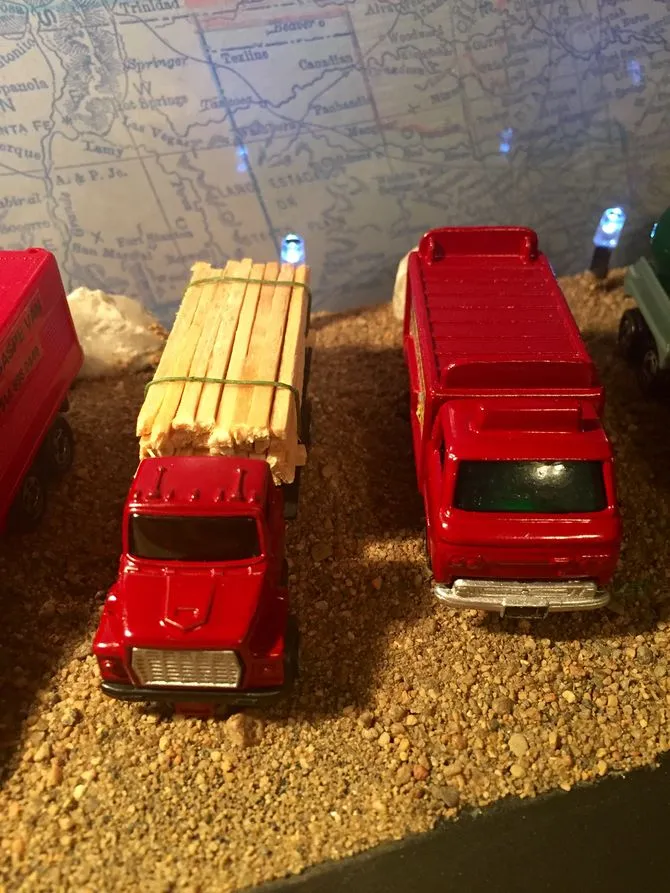
After the paint is fully dry, it’s time to reassemble the rims onto the car. This stage involves carefully reattaching the wheels, inspecting the finish, and making any necessary touch-ups. The final result should be a significant upgrade to the appearance of the diecast car, making it a more attractive and valuable collectible. Paying attention to detail during reassembly ensures that the finished product will look its best.
Reattaching the Wheels
Carefully reattach the wheels to the axles. Ensure that the wheels are securely in place and that they can rotate freely. If you removed any glue during disassembly, you may need to use a small amount of adhesive to secure the wheels. Be sure to allow the glue to dry completely before moving the car or displaying it. Check the wheels’ alignment to ensure that they are straight and do not rub against the car’s body.
Inspection and Finishing
Once the wheels are reattached, carefully inspect the rims for any imperfections or areas that need touch-ups. Use a fine brush or a toothpick to correct any minor flaws. If necessary, apply a small amount of paint to cover any imperfections. Allow the touch-up paint to dry completely. Once you are satisfied with the finish, your newly painted diecast car rims are ready to be displayed and admired. Your efforts in painting the rims will transform your diecast car.
