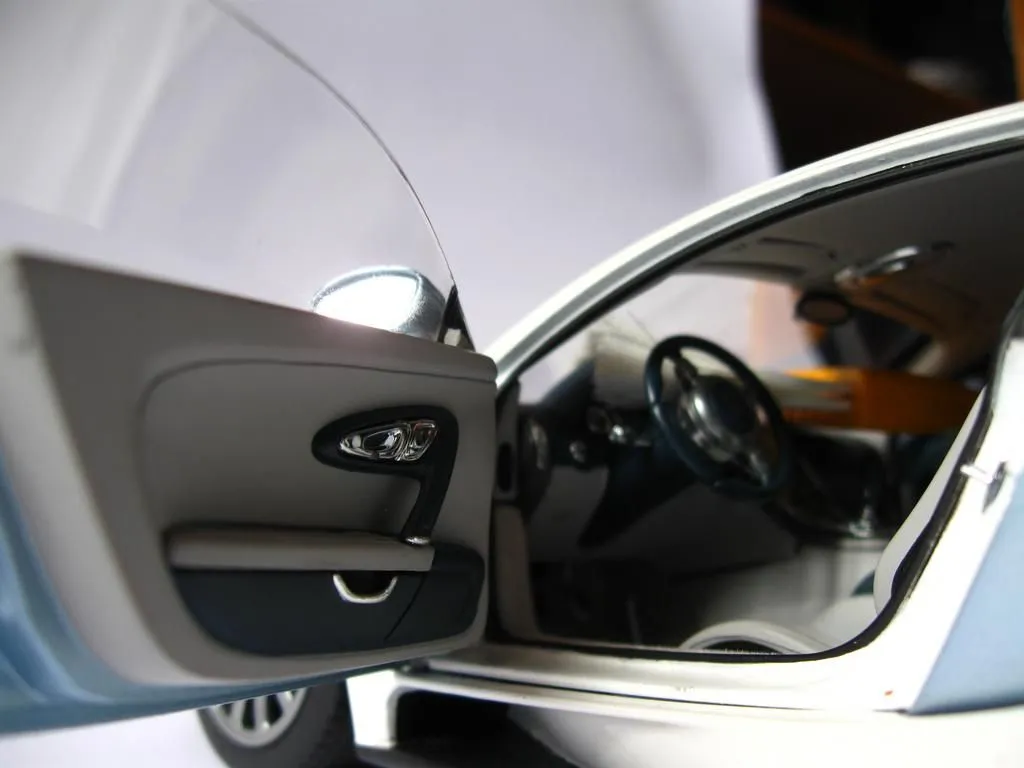
Diecast models, miniature replicas of iconic vehicles, are more than just toys they are cherished collectibles. Whether you’re a seasoned enthusiast or a newcomer to the hobby, keeping your diecast models in pristine condition is essential. Dust, dirt, and even the oils from your fingers can diminish their appearance over time. This comprehensive guide will walk you through every step of the diecast model cleaning process, ensuring your collection remains a source of pride for years to come. From basic dusting techniques to advanced stain removal, we’ll cover everything you need to know to maintain the beauty and value of your prized possessions.
Why Cleaning Your Diecast Models Matters
Cleaning your diecast models isn’t just about aesthetics; it’s about preservation. Dust and grime can gradually erode the paint and finish, leading to a dull appearance and potentially damaging the model’s surface. Regular cleaning prevents this deterioration, maintaining the model’s original beauty and value. Furthermore, a clean model is a joy to behold. The gleam of polished metal and the vibrant colors of the paintwork are best appreciated when the model is free from blemishes. It’s about the joy of ownership and the pride you take in showcasing your collection.
Benefits of Regular Diecast Model Cleaning
The advantages of a consistent cleaning routine extend beyond immediate visual appeal. Regular cleaning can prevent the buildup of dirt and grime that can attract moisture, leading to rust and corrosion, particularly on models with metal components. This proactive approach extends the lifespan of your models, safeguarding your investment and preserving their collectible value. Additionally, cleaning provides an opportunity to inspect your models for any signs of damage, allowing you to address issues early on. A clean model also enhances the overall presentation of your collection, making it more appealing to visitors and increasing your personal enjoyment.
Gathering Your Cleaning Supplies
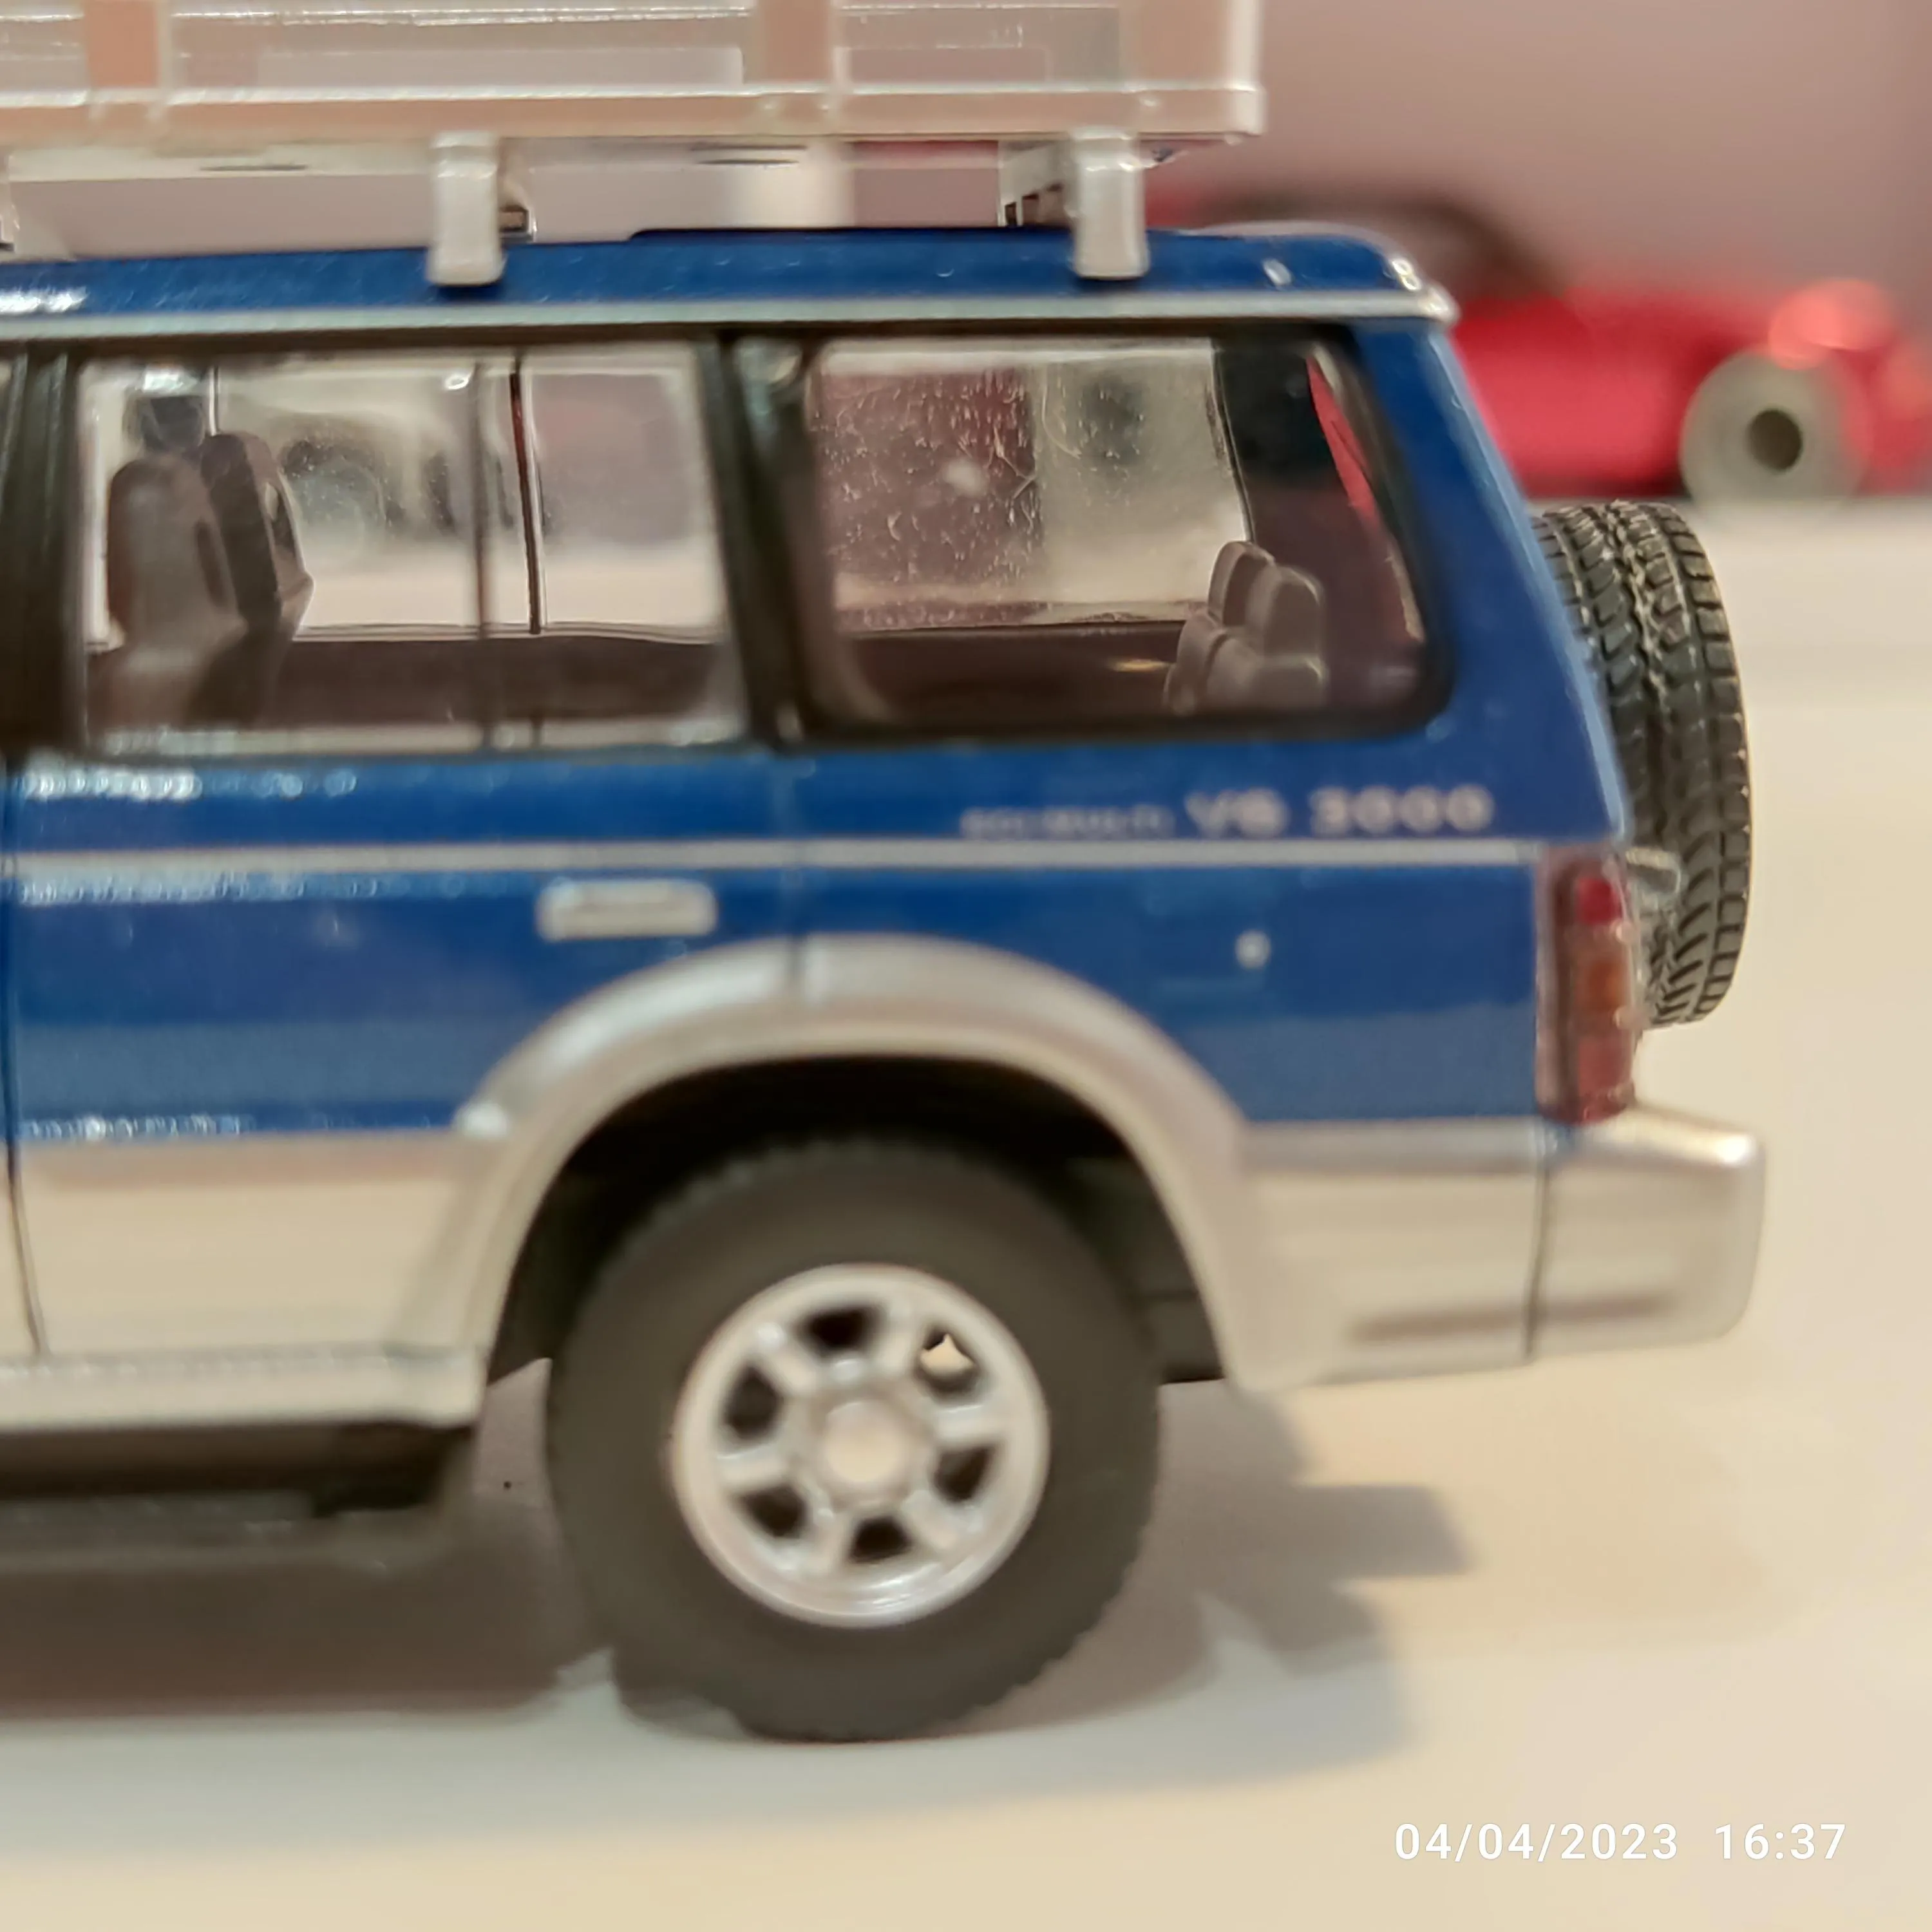
Before you begin, gather all the necessary supplies. Having everything readily available will streamline the cleaning process and ensure you don’t have to interrupt your work to search for a missing item. The specific tools and materials you’ll need will depend on the level of cleaning required, from simple dusting to more intensive stain removal. It’s important to choose gentle, non-abrasive products to avoid damaging the delicate surfaces of your diecast models. Careful preparation is key to a successful and safe cleaning experience.
Essential Tools and Materials
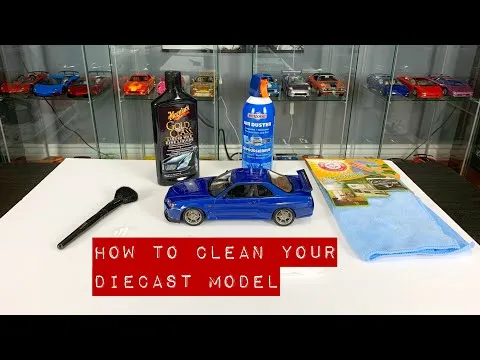
Here’s a list of essential tools and materials for cleaning your diecast models. You’ll need a soft, clean microfiber cloth for dusting and general cleaning. Avoid using paper towels or rough cloths, which can scratch the paint. A small, soft-bristled brush, such as a paintbrush or a toothbrush, will be useful for cleaning hard-to-reach areas and removing dust from crevices. For more intensive cleaning, gather mild dish soap or a specialized model cleaner. Distilled water is recommended to prevent water spots. Finally, a polishing compound (optional, for restoring shine) and cotton swabs or Q-tips for detailed cleaning are also helpful.
Choosing the Right Cleaning Solution
The cleaning solution you choose is critical to preserving the integrity of your diecast models. Avoid harsh chemicals, solvents, and abrasive cleaners, as these can damage the paint and delicate details. A solution of mild dish soap diluted in distilled water is a safe and effective option for general cleaning. You can also find specialized model cleaners formulated specifically for diecast models; these are often pH-neutral and designed to be gentle on delicate surfaces. Always test any cleaning solution on a small, inconspicuous area of the model first to ensure it doesn’t cause any discoloration or damage. When in doubt, opt for the gentlest cleaning method.
Step-by-Step Cleaning Process
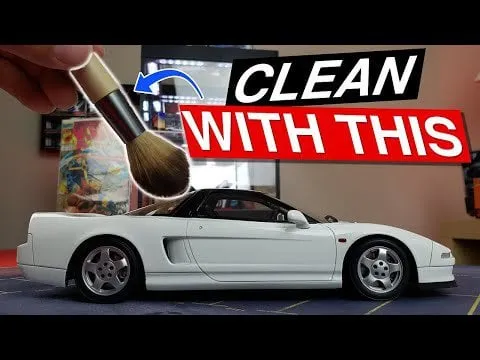
The cleaning process can be broken down into several steps, from initial dusting to more intensive cleaning. Start by dusting your models to remove loose particles. Then, if needed, gently wash the model with a diluted cleaning solution, paying attention to hard-to-reach areas. Rinse the model thoroughly with clean, distilled water to remove any soap residue. Dry the model completely with a soft cloth, ensuring no moisture remains. For models with stubborn stains or issues, consider the advanced techniques outlined later in this guide.
Dusting Your Diecast Models
Dusting is the first and most frequent step in maintaining your diecast models. Use a soft microfiber cloth to gently wipe away dust and debris. Avoid applying pressure, which could scratch the paint. For hard-to-reach areas, such as grilles, vents, and around small details, use a soft-bristled brush to dislodge dust particles. Regular dusting, ideally every few weeks, prevents dust from accumulating and becoming harder to remove. Handle the models with care, supporting them from the base or chassis to avoid accidental damage.
Gentle Washing Techniques
For more thorough cleaning, you can gently wash your diecast models. Dilute a small amount of mild dish soap in distilled water. Dip a soft microfiber cloth into the solution and gently wipe the model’s surface. Avoid saturating the model with water; the goal is to remove dirt without getting water inside. Rinse the model with clean, distilled water to remove any soap residue. Use a clean, dry microfiber cloth to pat the model dry, ensuring all surfaces are completely moisture-free. Allow the model to air dry for a short time to ensure all moisture is gone.
Detailed Cleaning for Hard-to-Reach Areas

Hard-to-reach areas, such as the seams, crevices, and details, require special attention. Use a soft-bristled brush or a cotton swab dipped in the cleaning solution to gently scrub these areas. Be patient and take your time to remove all the accumulated dirt. Avoid using excessive force, which could damage delicate parts. After cleaning, rinse the area with a cotton swab dipped in clean water to remove any soap residue. Finally, carefully dry the area with a clean cotton swab or allow it to air dry completely.
Polishing and Waxing for Shine
For models with a dull finish or those requiring extra shine, polishing and waxing can be beneficial. Use a specialized polishing compound designed for model cars. Apply a small amount of the compound to a soft cloth and gently rub it onto the model’s surface in a circular motion. Follow the manufacturer’s instructions. After polishing, apply a thin layer of wax to protect the paint and enhance the shine. Use a clean, dry cloth to buff the wax to a brilliant finish. Note that polishing and waxing are best reserved for special occasions, as they can wear down the paint over time.
Advanced Cleaning Techniques
Certain cleaning challenges may require more advanced techniques. For example, a toothpick or a needle can be used with extreme care to remove dirt from very tight spaces, such as around the windows or headlights. Consider using a soft brush dipped in a cleaning solution, and very gently scrub the areas. Always test any technique on an inconspicuous area first. If a model has intricate details or fragile parts, it’s best to seek advice from a professional model car restorer to prevent damage. Before attempting any advanced cleaning, assess the value of the model and weigh the risks against the benefits.
Removing Stubborn Stains
Stubborn stains, such as fingerprints or adhesive residue, may require more effort. For fingerprints, try gently wiping the affected area with a microfiber cloth moistened with the cleaning solution. For adhesive residue, try using a small amount of isopropyl alcohol (test it on an inconspicuous area first). Gently dab the area with a cotton swab, being careful not to damage the paint. Avoid using excessive force or harsh chemicals. In some cases, professional restoration may be necessary to remove stubborn stains without causing damage.
Dealing with Rust and Corrosion
Rust and corrosion can be detrimental to your diecast models. If you notice rust, address it immediately. Light surface rust can sometimes be removed with a very fine steel wool or a specialized rust remover. Always test any rust removal product on a small, hidden area first. For severe rust or corrosion, consider seeking professional help from a model car restorer. To prevent rust, store your models in a dry environment away from moisture and humidity. Avoid exposing your models to extreme temperatures and rapid changes in temperature.
Protecting Your Diecast Models
Protecting your diecast models is crucial for preserving their value and beauty. Avoid exposing your models to direct sunlight, which can fade the paint and damage the decals. Keep them away from extreme temperatures and humidity. Consider using UV-protective display cases to shield your models from sunlight and dust. Handle your models with clean hands or wear gloves to prevent fingerprints and oil transfer. Regular cleaning and careful handling are the best ways to protect your investment.
Proper Storage Solutions
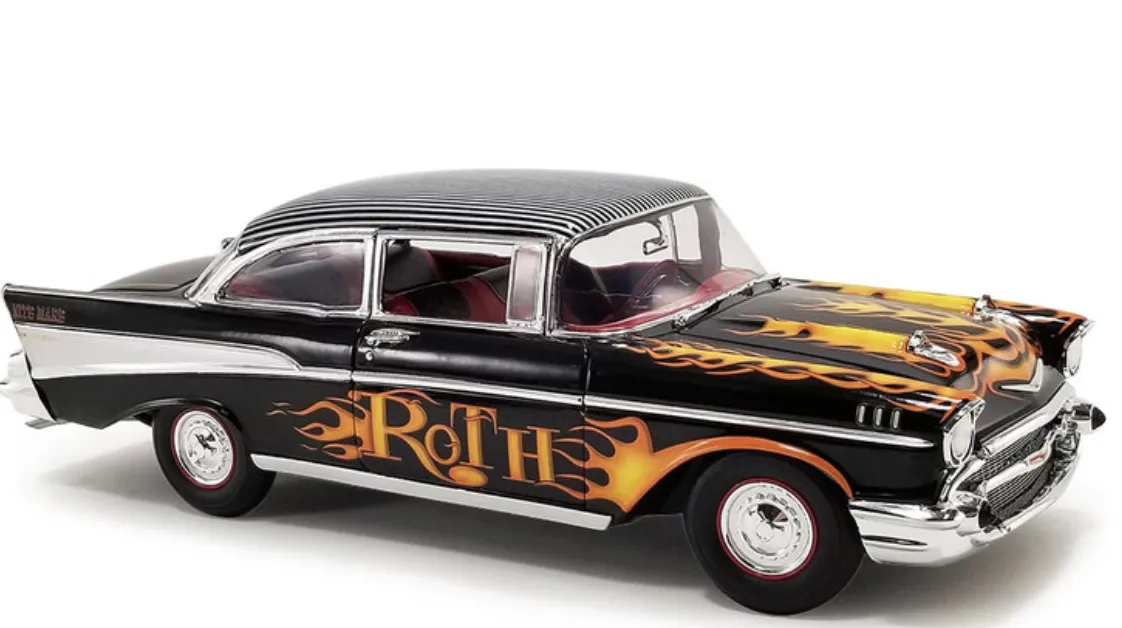
Proper storage is essential for preserving your diecast models. Store your models in a cool, dry, and dust-free environment. Consider using individual display cases or boxes to protect each model. Avoid storing models in direct sunlight or areas with extreme temperature fluctuations. If you have a large collection, consider using a shelving system with glass doors to display your models while keeping them protected from dust and damage. Be sure to check your storage solutions regularly to ensure no moisture or pests are present.
Displaying Your Collection
Displaying your diecast model collection is a rewarding experience. Choose a location that is away from direct sunlight and moisture. Consider using display cases or shelves to showcase your models. Arrange your models in an appealing manner, grouping them by make, model, or era. Ensure adequate lighting to highlight the details of your models. Regular dusting and cleaning of your display area will keep your collection looking its best. Remember, your display is a reflection of your passion for the hobby.
Common Mistakes to Avoid
Several common mistakes can damage your diecast models. Avoid using harsh chemicals or abrasive cleaners. Never submerge your models in water unless absolutely necessary. Do not use excessive force when cleaning or handling your models. Avoid storing your models in damp or humid environments. Always test cleaning solutions on a small, inconspicuous area first. Finally, be patient and take your time; rushing the cleaning process can lead to damage. By avoiding these mistakes, you can ensure the longevity and beauty of your collection.
Frequently Asked Questions about Diecast Model Cleaning
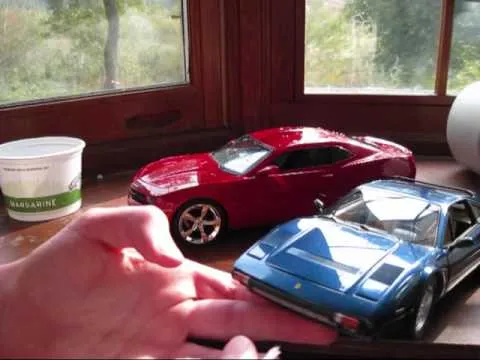
Here are some frequently asked questions about cleaning diecast models.
How often should I clean my diecast models? Ideally, dust your models every few weeks and do a more thorough cleaning every few months, depending on the environment and how often you handle them. What if I get water inside the model? Allow it to air dry completely. Can I use a hairdryer to dry my models? No, the heat can damage the paint. What if I can’t remove a stain? Consider seeking help from a professional restorer. Is it okay to use window cleaner? Avoid using window cleaner as it may damage the paint.
By following these guidelines, you can keep your diecast models looking their best for years to come.
In conclusion, cleaning your diecast models is a rewarding and essential part of the hobby. By following the steps outlined in this guide, you can maintain the beauty, value, and longevity of your collection. Remember to be gentle, use the right tools and materials, and take your time. With proper care, your diecast models will continue to bring you joy and be a source of pride. Happy collecting, and enjoy the journey of preserving these miniature masterpieces!
