Diecast model car painting can be a rewarding hobby, allowing you to customize and create stunning replicas. This comprehensive guide is designed for beginners, providing step-by-step instructions, essential tips, and techniques to help you achieve professional-looking results. Whether you’re a novice or have some experience, this guide will equip you with the knowledge to transform your diecast models into masterpieces.
Understanding Diecast Painting Basics
Before you start, understanding the fundamentals of diecast painting is crucial. This involves familiarizing yourself with the different paint types, tools, and techniques. Diecast models are typically made of metal, and preparing the surface correctly is essential for paint adhesion. Patience and attention to detail are key to success in this hobby. This guide breaks down each step to help you with your diecast painting journey.
Essential Tools and Materials for Diecast Painting
Gathering the right tools and materials is the first step. You’ll need a well-ventilated workspace, a cutting mat, and various brushes and airbrush. Essential materials include primer, paints, thinners or reducers, and a clear coat. Other useful items include masking tape, a hobby knife, and a selection of sandpaper grits. Invest in quality materials for better results. See image below for a quick setup overview.
It is worth noting that the availability of these items might vary on your location. Online stores are an excellent choice, local hobby stores are also an option for better assistance. Be sure to read the labels and instructions that come with your product.
Types of Paints for Diecast Models
Choosing the right type of paint is critical. The most common types are acrylic, enamel, and lacquer paints. Each has its characteristics in terms of drying time, durability, and ease of use. Understanding their differences will help you choose the best option for your project. Experimenting with different brands will also help you with the diecast painting process.
Acrylic Paints
Acrylic paints are water-based and dry quickly, making them ideal for beginners. They have low odor and are easy to clean up with water. Acrylics offer good color saturation and are suitable for airbrushing and brush painting. However, they can be less durable than enamel or lacquer paints, so a clear coat is essential for protection. They are generally the easiest to work with when learning diecast painting.
Enamel Paints
Enamel paints are oil-based and provide a durable, glossy finish. They have a longer drying time, allowing for more flexibility in application. Enamels are known for their excellent coverage and are resistant to scratches and chemicals. However, they have a strong odor and require the use of solvents for cleanup. Due to the nature of the paints, it is best to follow the safety instructions.
Lacquer Paints

Lacquer paints dry very quickly and offer a smooth, high-gloss finish. They are known for their durability and resistance to chipping. Lacquers require careful application due to their fast drying time and strong solvents. Adequate ventilation is necessary when using lacquer paints, and it is best to wear a respirator. They are not recommended for beginners due to their difficulty.
Preparing Your Diecast Model for Painting
Proper preparation is the most important step. This involves disassembling the model, cleaning the parts, and sanding the surface. These steps ensure that the paint adheres correctly and provides a smooth, professional finish. Neglecting the preparation stage will result in poor paint adhesion and an unsatisfactory final result. It will also affect your hard work.
Disassembly and Cleaning
Carefully disassemble your diecast model, removing wheels, windows, and any other removable parts. Clean all parts with soap and water to remove any oils, grease, or dirt. A degreaser can also be used for stubborn residues. Let the parts dry completely before proceeding. This step ensures that the paint adheres correctly.
If you are dealing with rare or expensive models, handle the models with extra care. Taking photos before disassembling the model is also helpful, this allows you to follow a visual guide when reassembling the parts.
Sanding and Priming
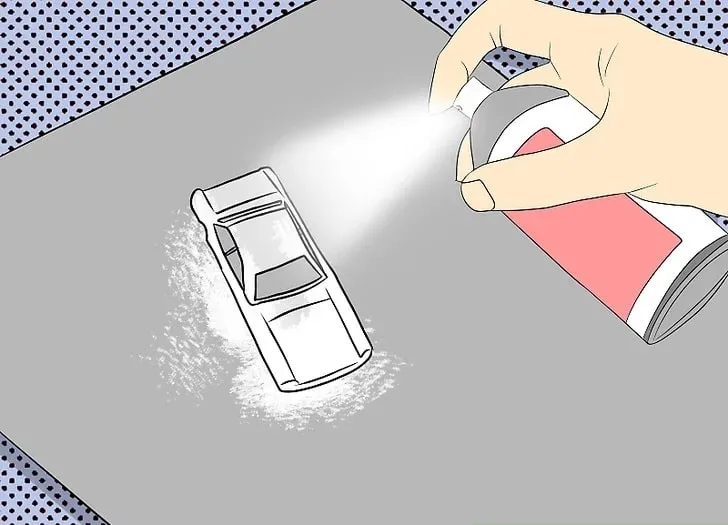
Sanding the surfaces with fine-grit sandpaper (e.g., 400-grit or higher) helps create a surface for the primer to adhere to. Apply a thin, even coat of primer, which will act as a base for the paint. Primer also helps to fill small imperfections and improve paint adhesion. Let the primer dry completely before applying the base coat. The image below shows some sanding techniques.
Step-by-Step Diecast Painting Process
Once the model is prepared, it’s time to start painting. This involves applying the base coat, adding details, and finishing with decals and a clear coat. Each step requires careful attention to achieve the best results. It is important to work in a dust-free environment to prevent any imperfections.
Applying the Base Coat
Apply thin, even coats of paint using an airbrush or brush. Multiple thin coats are better than one thick coat. Allow each coat to dry completely before applying the next. This method helps prevent runs and ensures an even finish. The image below provides a visual representation of this step.
Techniques for Even Coverage
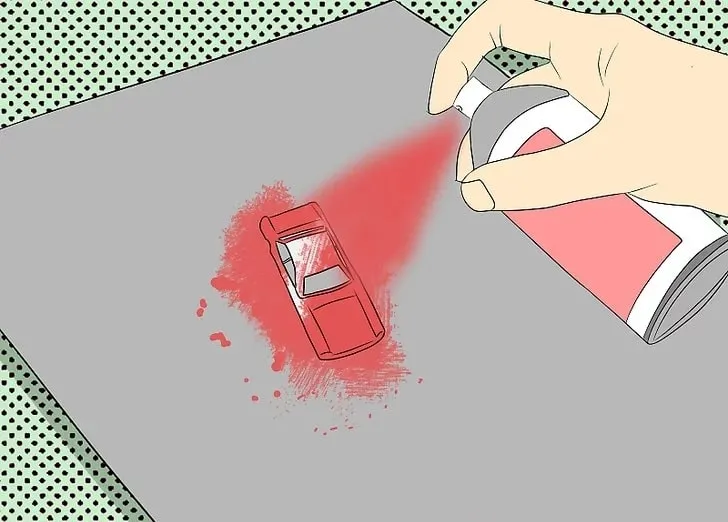
When using an airbrush, maintain a consistent distance and angle. For brush painting, use smooth, even strokes. Avoid applying too much paint at once. Build up the color gradually to achieve an even and smooth finish. Pay attention to every detail in the model.
Avoiding Runs and Drips
To prevent runs and drips, apply thin coats and avoid spraying too much paint in one area. If a run occurs, let the paint dry and gently sand the area before reapplying. Patience is key to avoiding these common issues.
Adding Details and Decals
Once the base coat is dry, you can add details using fine brushes or specialized tools. Decals can be applied using decal setting solutions to ensure they conform to the model’s surface. After the decals are dry, you may consider applying another coat of clear coat. Carefully align the decals to match the model specifications.
Weathering and Detailing Techniques
Weathering techniques add realism to your model. Use washes, dry brushing, or pigments to simulate dirt, rust, and wear. Experiment with different techniques to achieve the desired effect. Reference images are helpful to determine the best methods for each model. These small details will significantly enhance the overall appearance.
Sealing and Protecting Your Paint Job
Applying a clear coat protects the paint and gives your model a professional finish. The clear coat provides a durable layer that protects the paint from scratches and UV damage. This is the final step in the diecast painting process, it ensures the longevity of your model.
Choosing the Right Clear Coat
Choose a clear coat that is compatible with your paint type. Acrylic clear coats are suitable for acrylic paints, while enamel and lacquer clear coats are available for their respective paint types. Consider the desired finish such as gloss, semi-gloss, or matte. Select a product that aligns with your project’s requirements.
Applying the Clear Coat
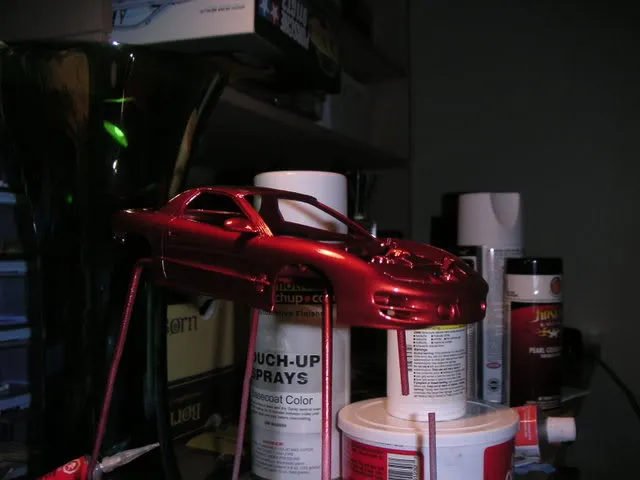
Apply the clear coat in thin, even coats using an airbrush. Allow each coat to dry completely before applying the next. Multiple thin coats will provide better protection than one thick coat. Avoid runs and drips by applying thin layers. Let the clear coat cure completely before handling the model.
Troubleshooting Common Diecast Painting Problems
Even with careful preparation and application, problems can occur. Addressing these issues requires a thorough understanding of the causes and solutions. The following information will help you troubleshoot and fix some of the most common issues. This also helps you to improve your model.
Runs, Drips, and Imperfections
Runs and drips are often caused by applying too much paint at once. If a run occurs, let the paint dry, carefully sand the area, and reapply the paint in thinner coats. Imperfections can be minimized by ensuring the model and the environment are free of dust and debris.
Paint Bubbling and Cracking
Bubbling can be caused by applying paint over a surface that is not completely dry. Cracking can result from applying thick coats of paint or incompatibility between paint layers. Ensure each coat is fully dry before applying the next. If cracking occurs, remove the paint, re-prime, and start again with thinner coats.
Dust and Contamination
Dust and other particles in the air can contaminate the paint, resulting in a rough finish. Work in a clean, dust-free environment. Use a tack cloth to remove any dust from the model before painting. Proper preparation will minimize contamination issues.
Maintaining and Displaying Your Painted Diecast Models
Once your model is painted, proper maintenance and display are essential. This will help preserve your work and allow you to enjoy your models for years to come. Displaying your models in a suitable environment will protect them from dust and damage.
Store your models in a dust-free environment away from direct sunlight. Clean them gently with a soft cloth. Handle the models with care to avoid scratches. Following these simple tips will help preserve your work for many years.
Diecast painting is a rewarding hobby that combines creativity and craftsmanship. By following the steps outlined in this guide, you’ll be able to create stunning, customized diecast models. Enjoy the process, experiment with different techniques, and most importantly, have fun!
