What is Diecast Modification
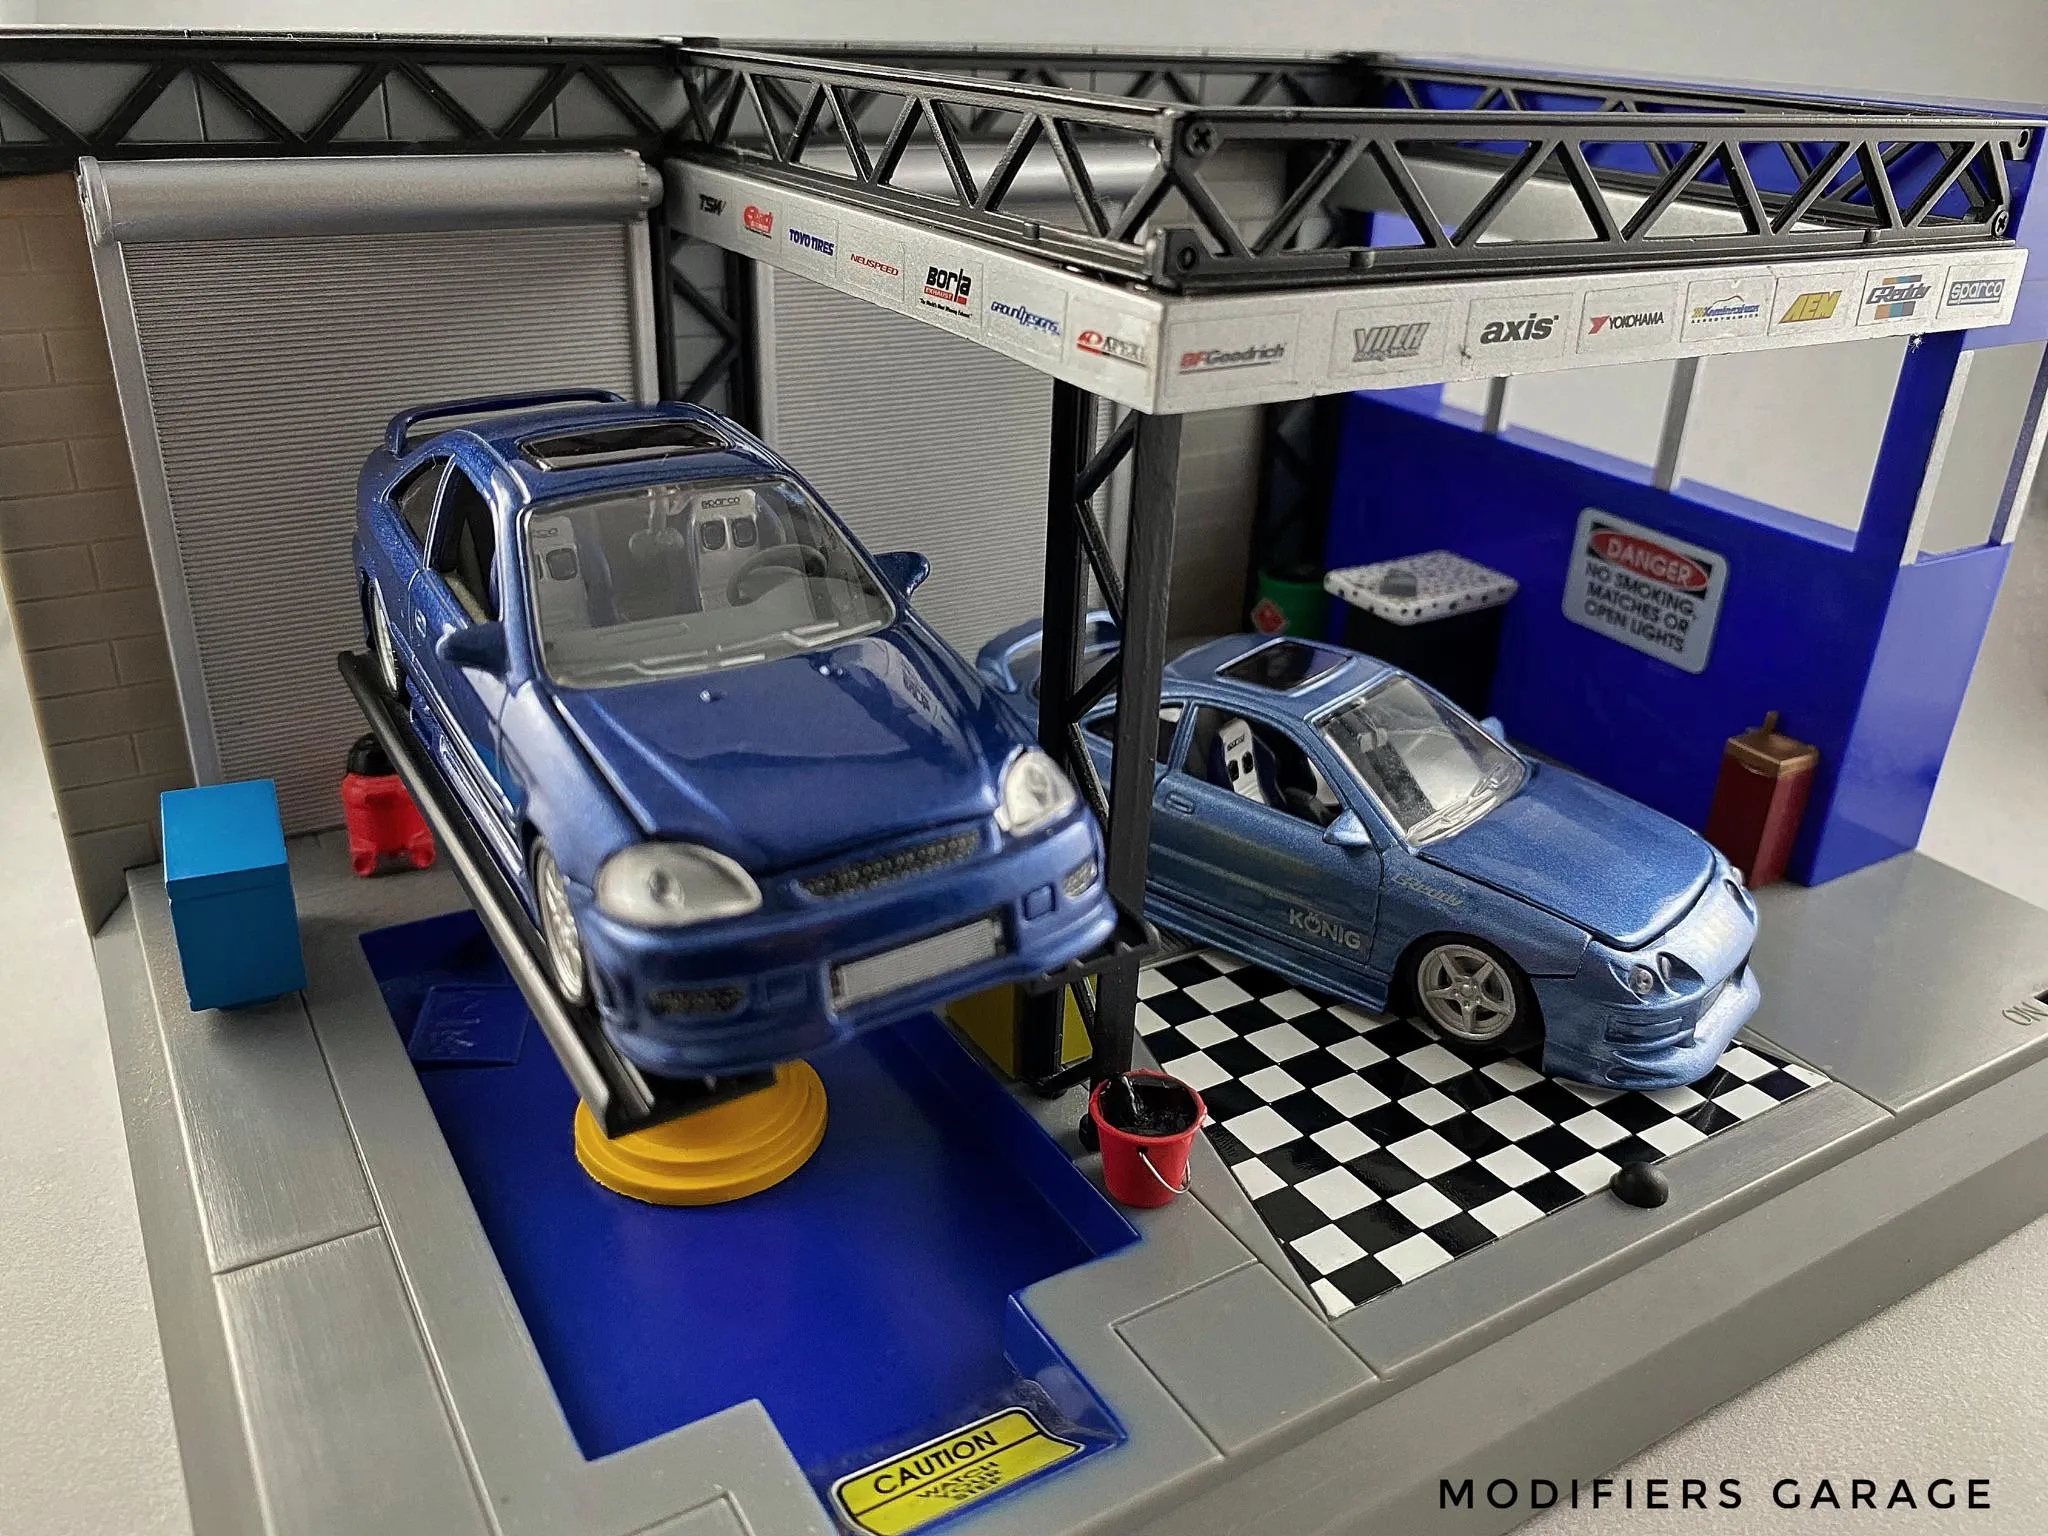
Diecast modification is the art of customizing and personalizing miniature diecast model cars. It transforms ordinary, mass-produced toys into unique, one-of-a-kind collectibles. This hobby is not just about changing the look of a model; it’s about expressing creativity, improving detailing, and creating a miniature replica of a real-life vehicle, or even a custom design. Diecast modification encompasses a wide range of techniques, from simple paint jobs and wheel swaps to more complex engine swaps, interior detailing, and body modifications. It allows enthusiasts to breathe new life into their collections, adding personal touches that make each model special. The popularity of diecast modification stems from its accessibility, affordability, and the satisfaction of creating something unique.
Benefits of Modifying Diecast Cars
There are many benefits to modifying diecast cars, going beyond mere aesthetics. First and foremost, it provides a creative outlet. Modifying diecast models allows hobbyists to express their artistic vision and attention to detail. Moreover, it enhances the collectible value of the models. A well-executed modification can significantly increase the value, particularly if the work is done skillfully and with quality materials. It is a relaxing and rewarding hobby. The meticulous work involved can be therapeutic, offering a break from the digital world. The sense of accomplishment from transforming a model car is immense. Diecast modification also fosters a sense of community. Online forums and social media groups connect enthusiasts, providing support, sharing ideas, and showcasing work. This shared passion builds lasting friendships. Finally, it is an affordable way to build an impressive collection. Compared to purchasing custom-made models, modifying diecasts allows you to create a personalized collection without breaking the bank.
Tools You’ll Need for Diecast Modification
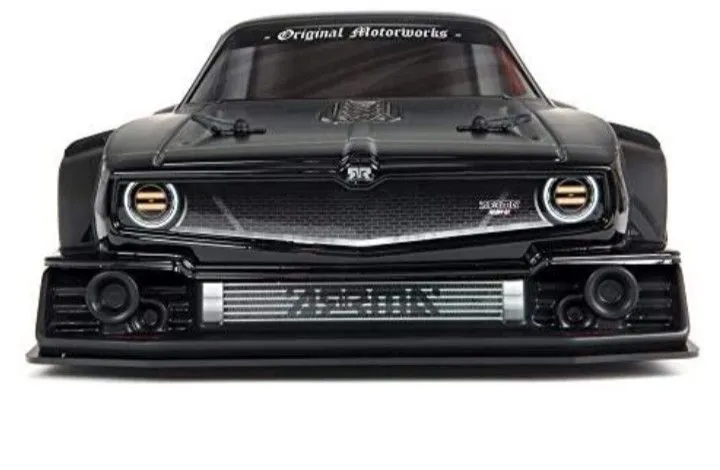
To begin your diecast modification journey, you’ll need to gather a few essential tools. A precision screwdriver set is crucial for disassembling and reassembling the models. Small files and sandpaper of varying grits will help smooth surfaces, remove imperfections, and prepare parts for painting. A hobby knife or X-Acto knife is indispensable for cutting, trimming, and detailing. A cutting mat will protect your work surface and provide a safe space to work. Additionally, you’ll need a selection of paint brushes, ranging from fine detail brushes to broader brushes for larger areas. Super glue and epoxy are essential for bonding parts together. A good quality airbrush or spray cans can achieve professional-looking paint finishes. Finally, safety glasses and a respirator are vital to protect your eyes and lungs when working with paints, solvents, and other chemicals. Having these tools on hand ensures a smooth and successful diecast modification experience, enabling you to create stunning results.
Disassembly & Preparation for Diecast Modification
Before you start customizing, proper disassembly and preparation are key to a successful diecast modification. Begin by carefully disassembling the model. Using your precision screwdriver set, remove all screws and gently detach the body from the chassis. Take note of how the pieces fit together so you can easily reassemble them later. Once disassembled, thoroughly clean all the parts. Use warm, soapy water to remove any dirt, oils, or residue. Next, prepare the surfaces for painting. This involves removing any existing paint and smoothing out imperfections. You can use sandpaper, files, or a paint stripper for this. Be patient and meticulous during this process. This will affect the final appearance of your modified model. After cleaning and prepping, prime the parts. A good primer will ensure the paint adheres properly and provides a smooth surface for your custom paint job. Finally, make sure you have a well-ventilated workspace and wear appropriate safety gear throughout the preparation phase to protect yourself from harmful fumes and dust.
Step 1 Removing the Wheels
Removing the wheels is often the first step in any diecast modification project. The process varies depending on the model’s construction, but generally involves a few common steps. First, examine how the wheels are attached. Some are held in place by axles, which may be friction-fit or secured with glue. Others may have a pin that needs to be carefully removed. To remove friction-fit axles, use a small tool like a toothpick or a pin to gently push them out from one side. For glued axles, you may need to carefully apply heat using a hairdryer or a heat gun to soften the glue before attempting to remove the wheels. Once the wheels are off, clean the axle holes to prepare them for new wheels. If you plan to replace the wheels, consider the size and style you desire. Some modification enthusiasts prefer to use wheels from other diecast models. This will offer a variety of different looks. Ensure they fit properly and that the new wheels enhance the overall appearance of your model.
Step 2 Detailing the Interior
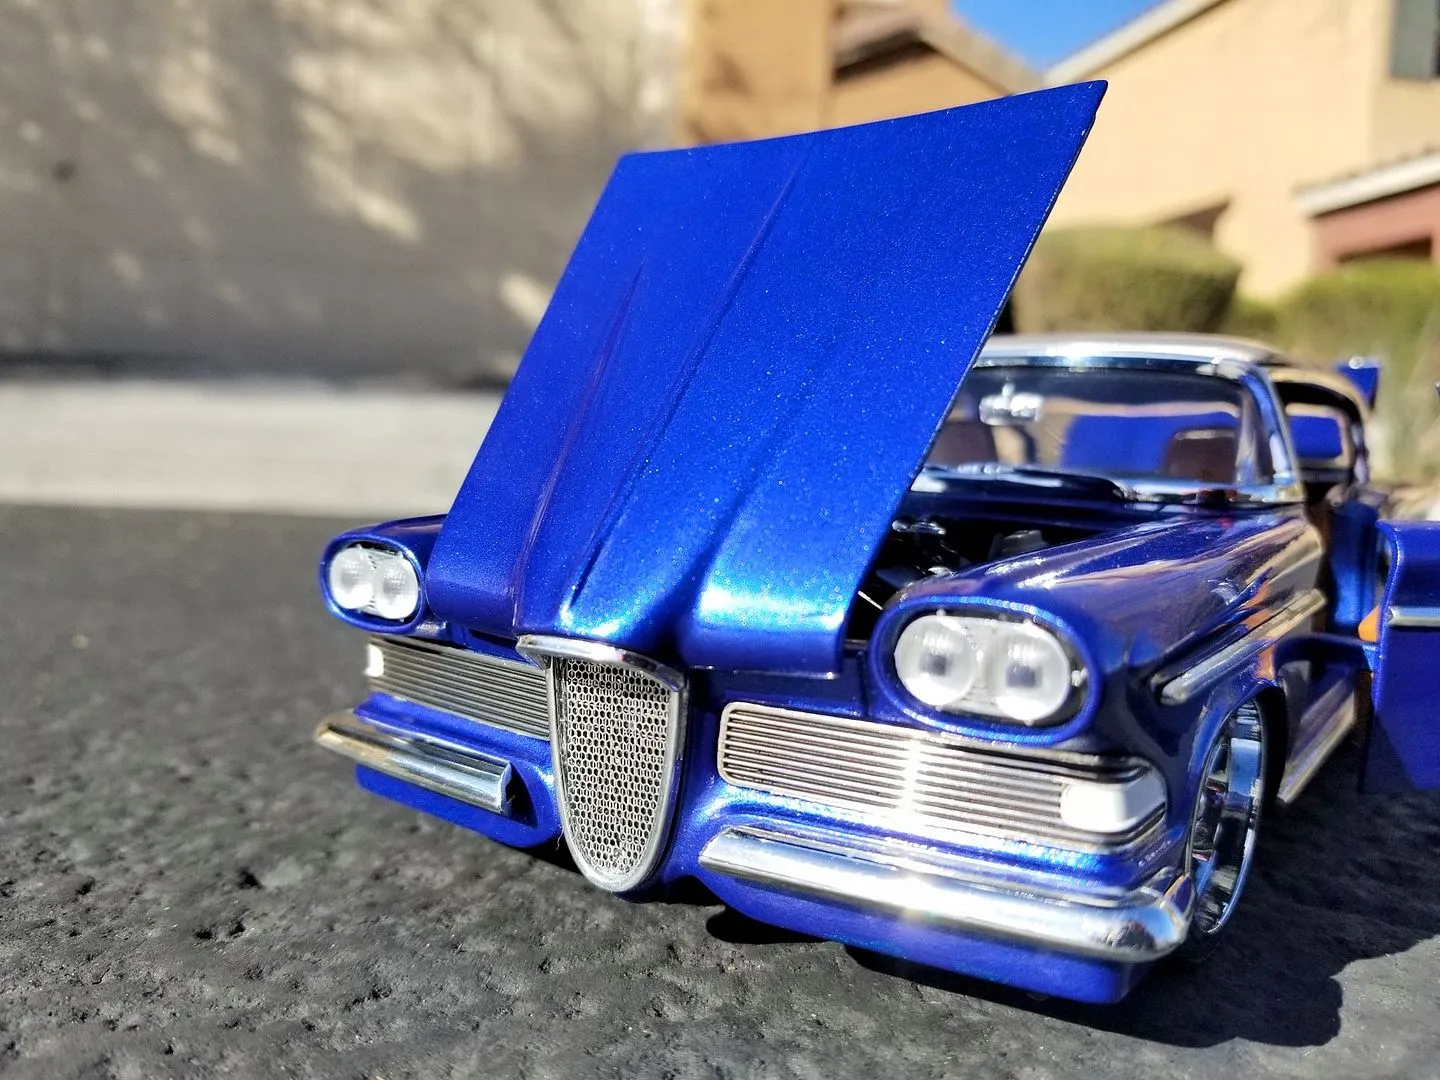
Detailing the interior is an excellent way to elevate the realism of your diecast model. Start by removing the existing interior components, such as the seats, dashboard, and door panels. Clean these parts with warm, soapy water to remove any dust or residue. Then, you can begin to add custom details. Modelers can modify these areas with various materials like thin plastic sheets, or even create custom items with modeling clay. This will create a very realistic interior. Paint the interior components using appropriate colors and techniques. Use fine detail brushes to add elements like seat belts, gauges, and other interior features. Decals can enhance dashboards and other details. Reassemble the interior, carefully gluing all components back into place. Ensure all the details are properly aligned. The end result is a more realistic and visually appealing interior. This will greatly improve your diecast modification project.
Step 3 Custom Paint Job
A custom paint job is often the most striking aspect of diecast modification. After preparing the body, apply a primer coat. This will allow the paint to adhere to the model’s surface. Once the primer is dry, lightly sand the surface to ensure a smooth finish. Next, apply your chosen paint. Use an airbrush for a professional finish. Apply multiple thin coats rather than one thick coat. This will prevent runs and ensure even coverage. For complex designs, use masking tape to create precise lines and patterns. Once the paint is dry, you can add decals. Apply a clear coat to protect the paint and give your model a glossy finish. Allow sufficient time for the clear coat to cure. This can range from a few days to a week. Sand and polish the clear coat for an ultra-smooth finish. This stage is what transforms a model. A beautifully executed paint job dramatically enhances the visual impact of your modified diecast car.
Step 4 Chassis Modification
Chassis modification can significantly impact the overall look and functionality of your diecast model. This step involves modifying the undercarriage of the car. Start by removing the chassis from the body. You may want to lower the suspension. This gives the car a more aggressive stance. Lowering the suspension requires trimming the chassis, and sometimes modifying the wheel wells to avoid tire rubbing. Another popular modification is adding exhaust systems. Use plastic or metal tubing to create custom exhaust pipes. You can also add other undercarriage details, such as brake discs, suspension components, and fuel tanks, using various materials. Paint the chassis components to match your design. After completing the modifications, reassemble the chassis with the body. Ensure all parts are securely fastened. Carefully consider the proportions and balance of your modifications to maintain the integrity of the model. Chassis modification is a great way to add realism to your diecast model.
Step 5 Reassembly and Finishing Touches
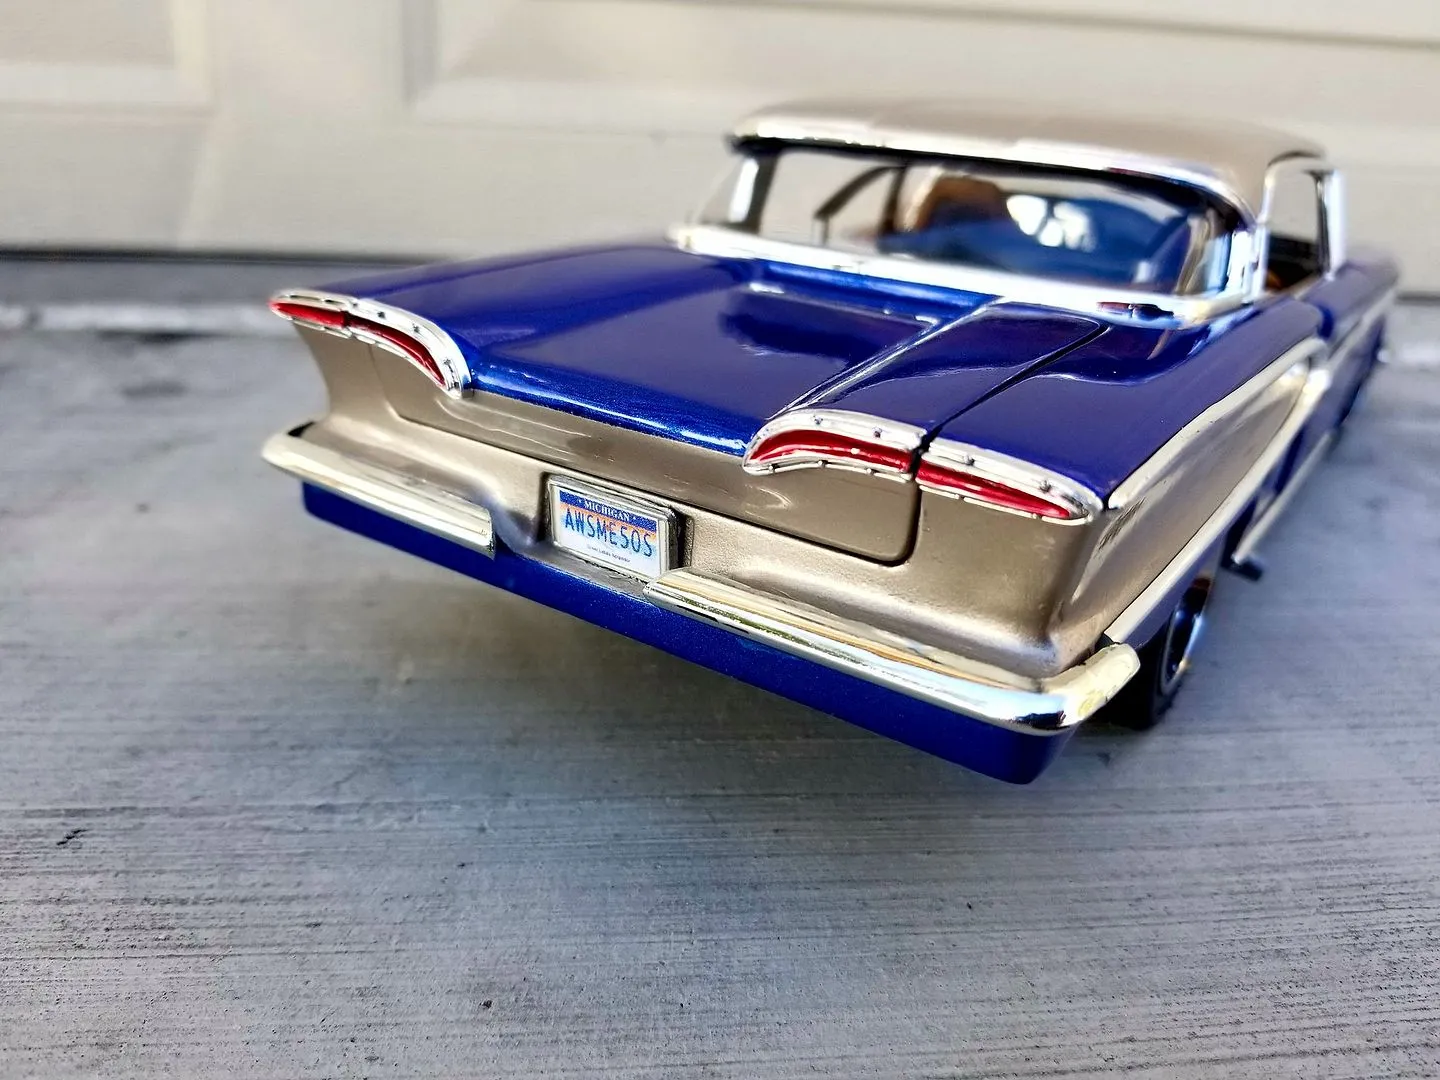
Reassembly is the final stage in the diecast modification process, bringing all the individual modifications together. Begin by carefully reattaching all the modified components. Make sure each part fits correctly. Secure the body to the chassis. Use screws or glue, depending on the model’s design. Attach the wheels. If you replaced the wheels, ensure they spin freely and don’t rub against the body or chassis. Add any remaining details, such as mirrors, wipers, and antennas. Use super glue or epoxy for secure attachment. Polish the model to give it a smooth finish. Once reassembled, inspect the model for any imperfections. Make any necessary touch-ups with paint or glue. The final touches will set your model apart. When complete, take pride in your work. The satisfaction of seeing the finished product is the most rewarding part of diecast modification.
Advanced Diecast Modification Techniques
For experienced diecast modification enthusiasts, there are several advanced techniques that can take your skills to the next level. One such technique is engine swaps. This involves replacing the original engine with a more detailed or customized one. Another is body modifications, which includes cutting, reshaping, or adding custom parts to the body. These can create unique car models. Detailing techniques such as photo-etching, which uses etched metal parts, can add incredibly fine details to the model. Custom fabrication involves creating parts from scratch using materials like plastic, metal, or resin. Airbrushing techniques, such as shading, weathering, and intricate graphics, can significantly enhance the visual appeal of the model. These advanced techniques require practice, patience, and a deeper understanding of the materials and tools involved. Mastering these techniques will allow you to create truly exceptional diecast models. These models will showcase your skill.
Where to Buy Diecast Modification Parts
Finding the right parts is critical for any diecast modification project. Fortunately, there are several places to source the parts you’ll need. Online retailers specialize in diecast modification parts. These retailers provide a wide selection of wheels, tires, decals, paints, and other accessories. Hobby stores are another great resource. They often carry a variety of paints, tools, and materials. Online marketplaces like eBay and Etsy are excellent sources. These platforms offer both new and used parts, as well as custom-made components from independent sellers. Local car shows and swap meets are another way to source parts. You can often find rare or vintage parts. Before purchasing any parts, ensure they are compatible with your diecast model’s scale and design. Read reviews and compare prices from different sources to ensure you’re getting the best deal. Having access to a wide range of parts and components will allow you to bring your creative vision to life.
Common Mistakes to Avoid in Diecast Modification
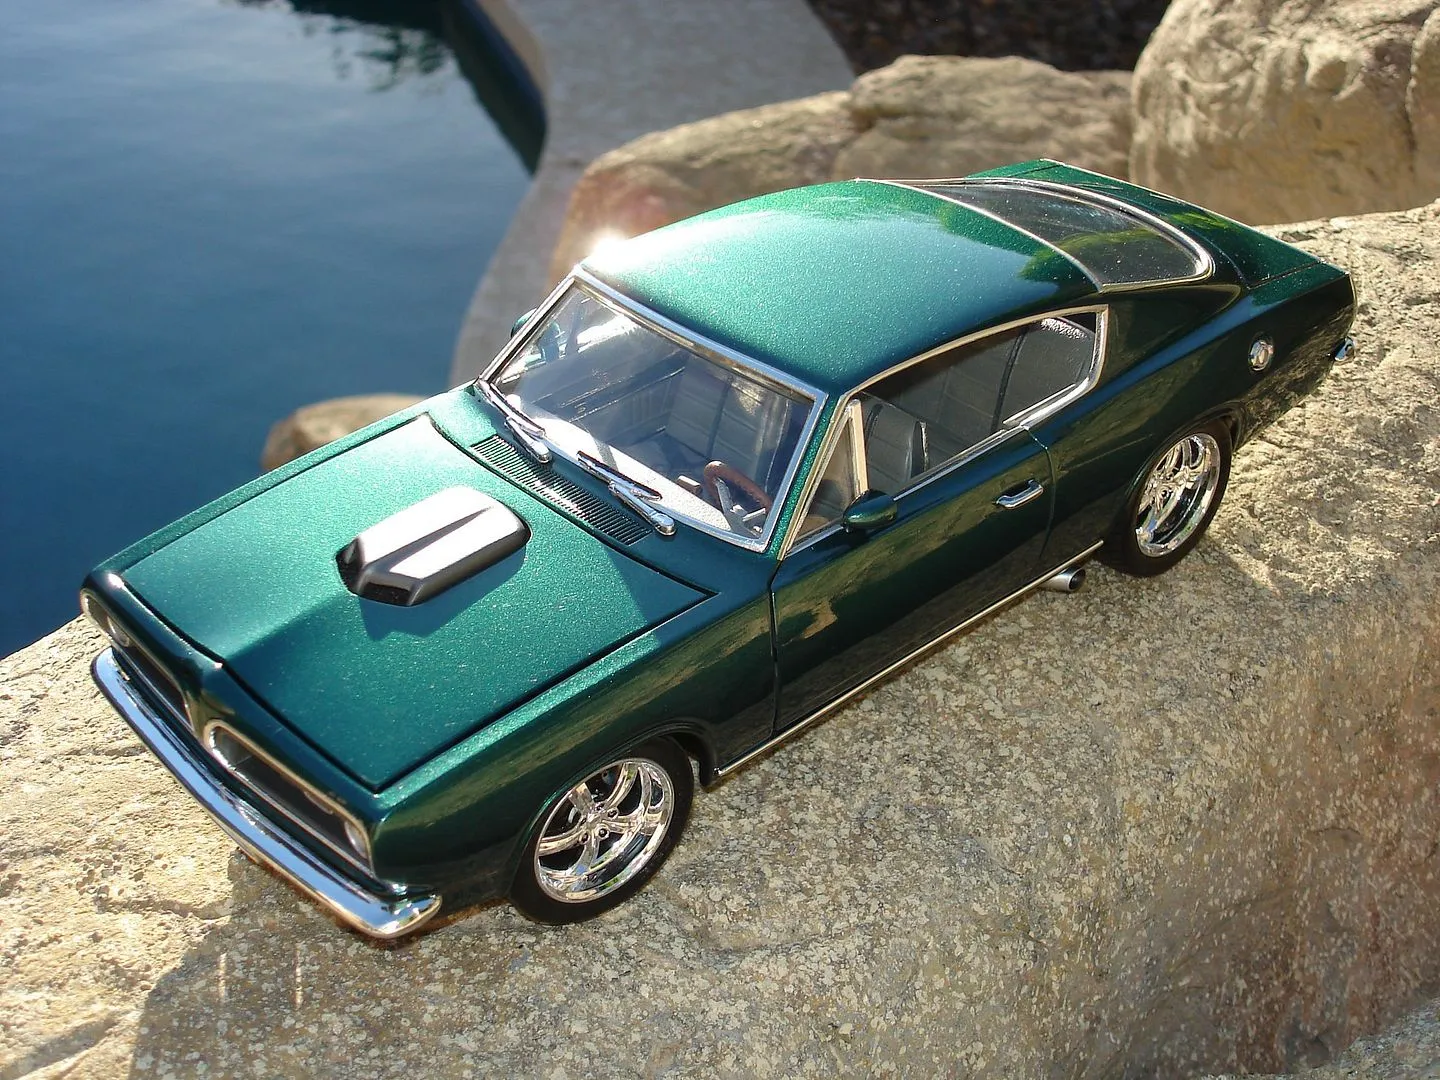
Avoiding common mistakes will help you achieve better results in your diecast modification projects. One common mistake is rushing the process. Take your time to disassemble, prepare, and paint the model correctly. Another mistake is using the wrong tools or materials. Be sure to use the correct tools for the job, and choose high-quality paints and glues. Poor preparation can lead to paint imperfections. Always properly clean and prime the surfaces before painting. Another common mistake is failing to protect your workspace and yourself. Wear safety glasses and a respirator when working with paints and solvents. When reassembling the model, be careful not to force any parts. If something doesn’t fit easily, you may need to make adjustments or seek advice from other modelers. Patience, careful planning, and attention to detail are essential for success in diecast modification. Avoid these common pitfalls to achieve better results.
Displaying and Protecting Your Modified Diecast Cars
Once you’ve invested time and effort in modifying your diecast cars, it’s important to properly display and protect them. Display cases provide excellent protection from dust, sunlight, and accidental damage. These cases showcase your models and keep them clean and visible. Consider using clear acrylic display cases. Position your models away from direct sunlight to prevent fading. Regularly dust your display cases and models to keep them looking their best. Another option is to use individual display stands. These stands can highlight each car’s unique features. The display can also serve to organize your collection. By taking these steps, you’ll preserve the beauty and value of your modified diecast cars for years to come. Proper display ensures that your hard work can be admired.
Conclusion
Diecast modification is a rewarding hobby that combines creativity, craftsmanship, and a passion for miniature vehicles. From simple paint jobs and wheel swaps to advanced techniques like engine swaps and custom fabrication, the possibilities are endless. By following the steps outlined in this guide, you can transform ordinary diecast models into stunning, personalized collectibles. Remember to invest in the right tools, take your time, and prioritize safety. The world of diecast modification offers a unique opportunity to express your creativity and join a vibrant community of enthusiasts. So, gather your tools, select your model, and embark on a journey of diecast modification. With practice, patience, and a little imagination, you can create a collection that is as unique as you are. Embrace the joy of transforming these miniature cars and creating something truly special.
