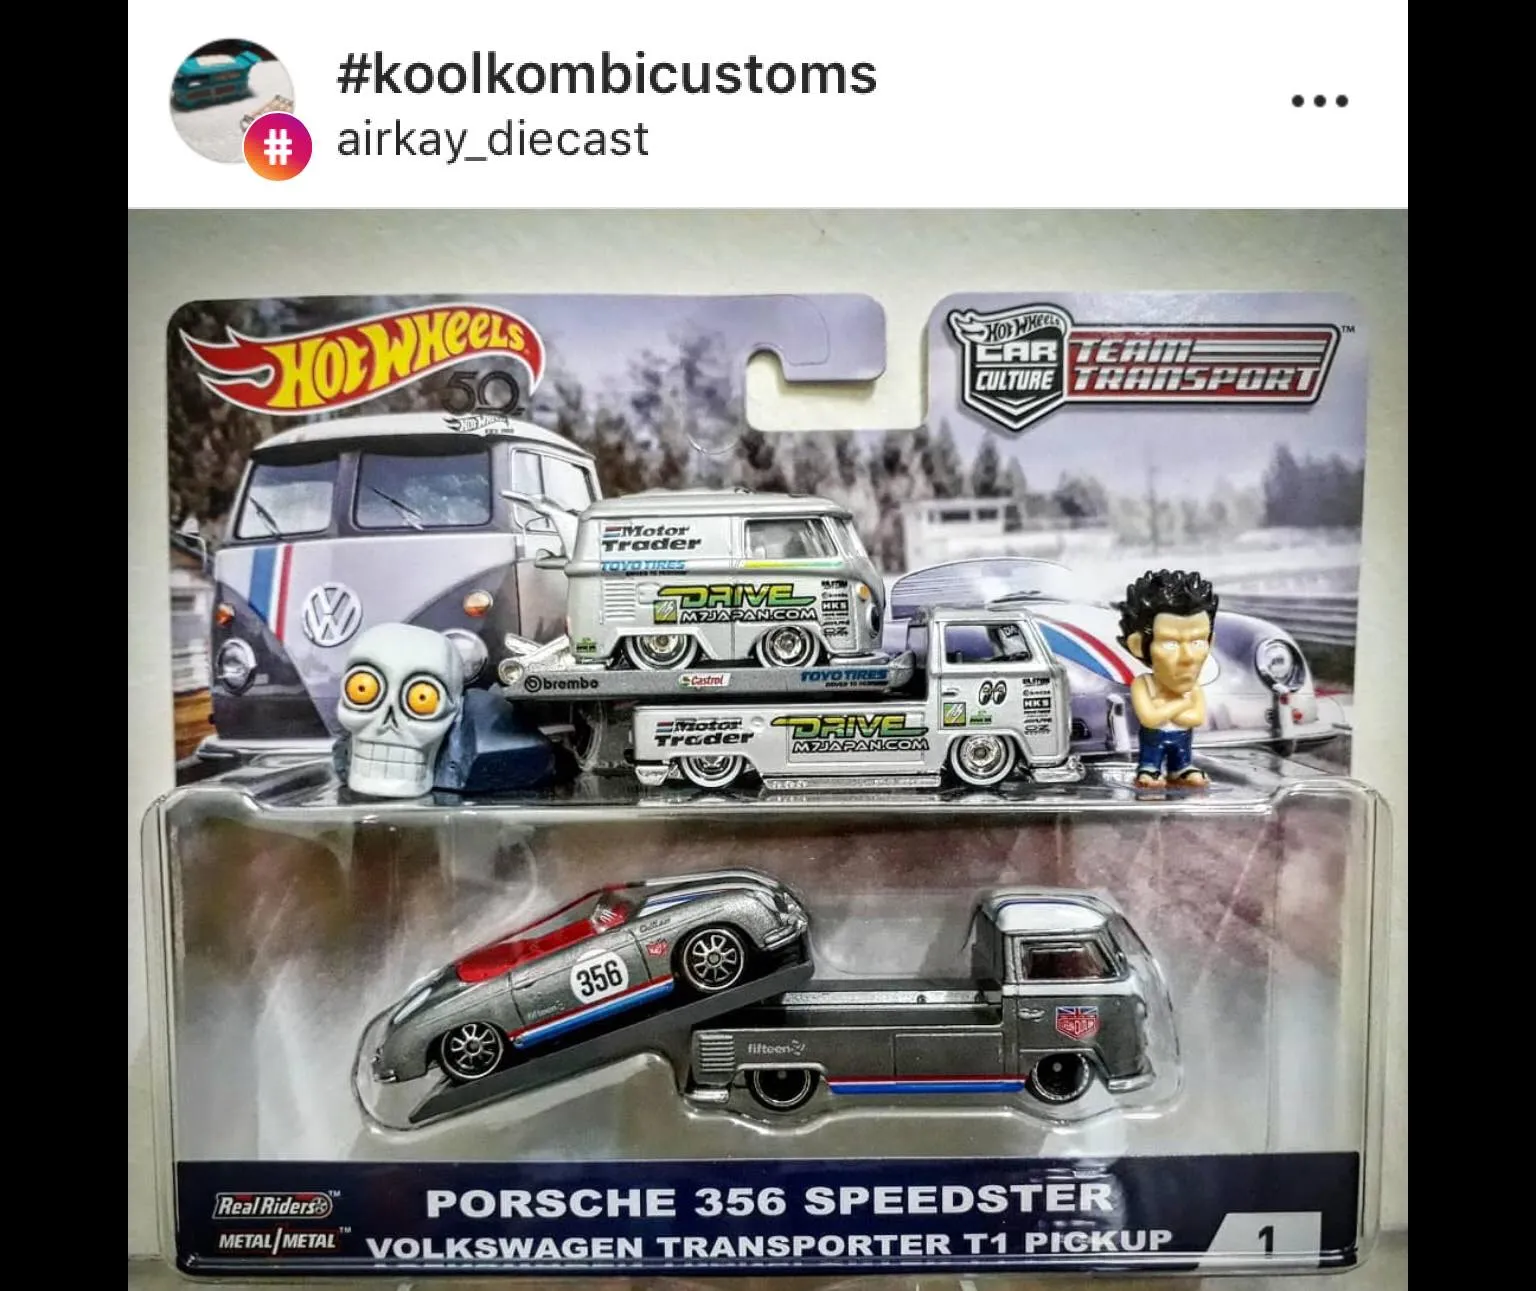
What is Diecast 64 Custom
Diecast 64 custom refers to the art and hobby of modifying and personalizing 1:64 scale diecast model cars. This scale, being relatively small, offers a great balance of detail and affordability, making it a popular choice for both beginners and experienced modelers. The ‘64’ in the name signifies the 1:64 scale, where every dimension of the model is 64 times smaller than the real-life vehicle. Customization can range from simple modifications like wheel swaps and paint jobs to more complex projects involving full disassembly, detailing, and the addition of aftermarket parts. The possibilities are vast, limited only by your imagination and skill. This guide will walk you through the basics of getting started with diecast 64 custom, providing you with the knowledge and confidence to begin your own projects.
The Appeal of Diecast 64 Custom
The allure of diecast 64 custom lies in several factors. Firstly, it’s a highly accessible hobby. The models themselves are relatively inexpensive, and the initial investment in tools and materials can be kept low. Secondly, it’s a creative outlet. Customizing allows you to express your personal style, replicate your favorite cars, or create unique and imaginative designs. Thirdly, it’s a rewarding hobby. There’s a great sense of satisfaction in taking a factory-fresh model and transforming it into something truly unique. The community aspect is also significant, with online forums, social media groups, and local clubs providing a space to share your work, learn from others, and connect with fellow enthusiasts. The ability to create highly detailed miniature versions of real cars, or entirely new designs, is a draw for many.
Tools and Materials for Diecast 64 Custom
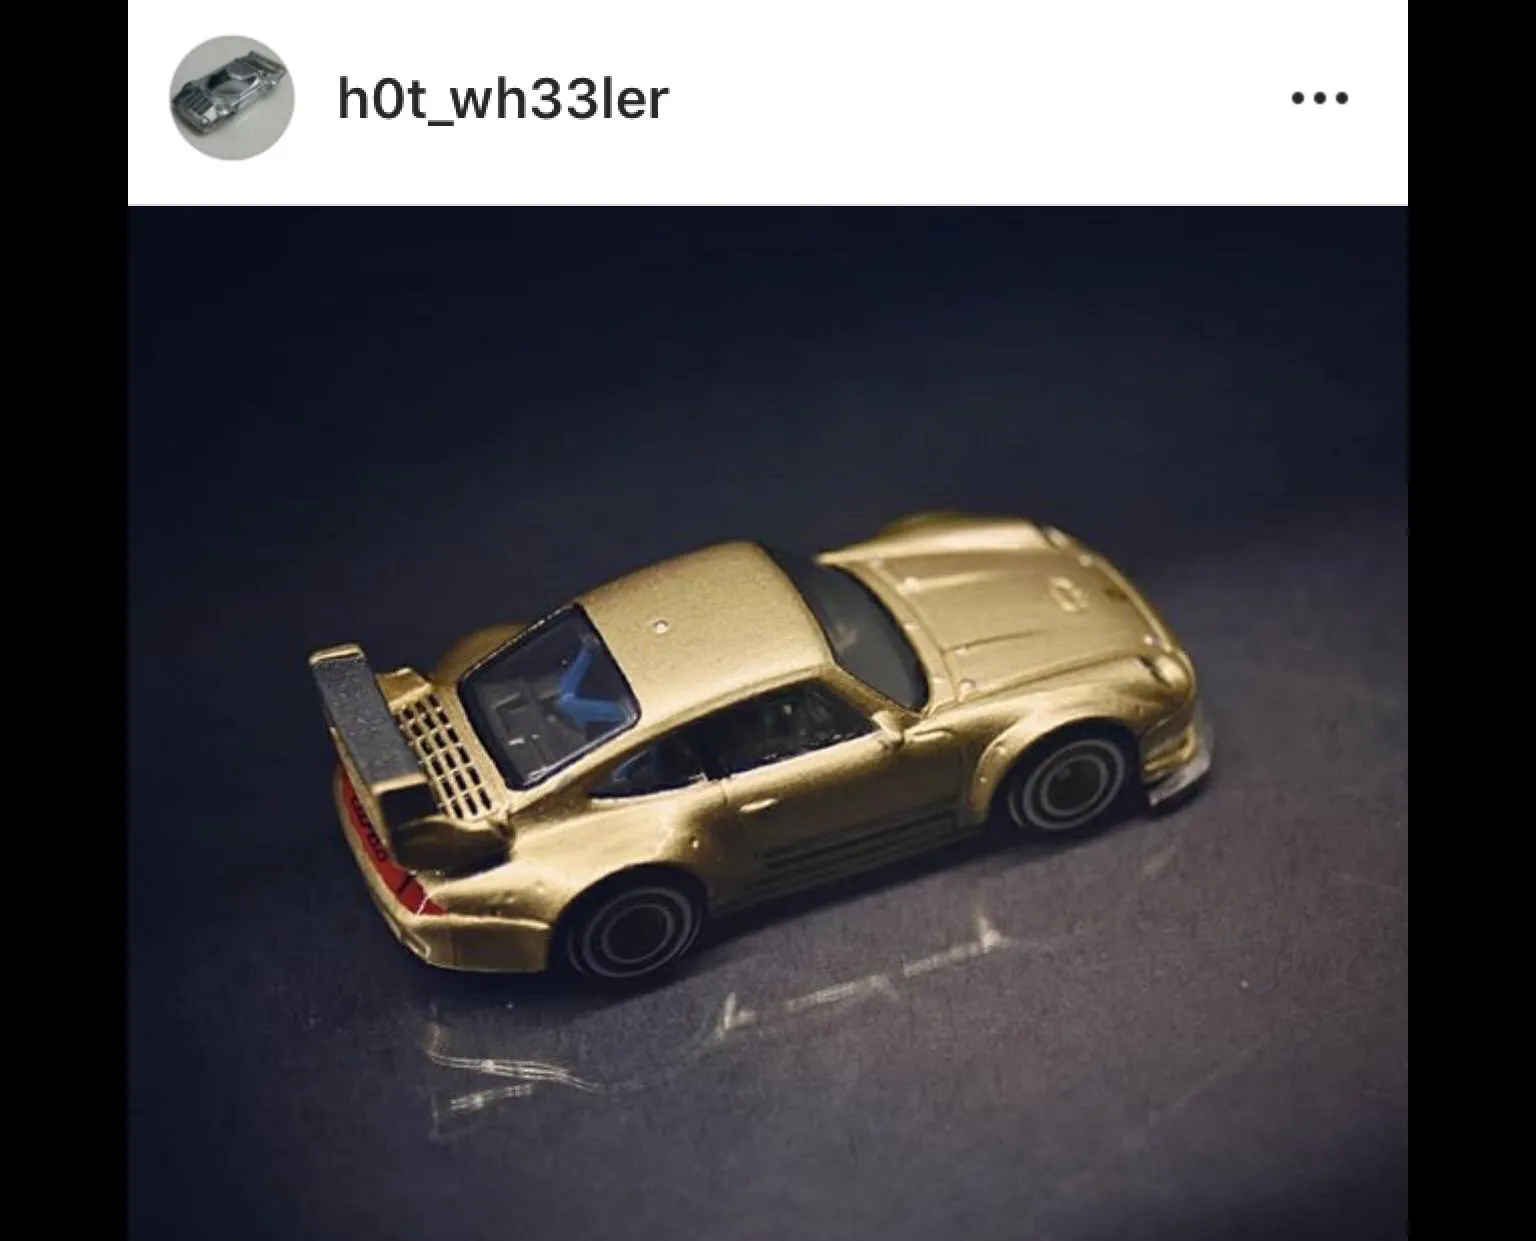
Getting started with diecast 64 custom requires a few essential tools and materials. While you can expand your collection as you progress, a basic set is enough to begin. The initial investment is minimal, making it a very accessible hobby. The right tools make all the difference in achieving a quality finished product, ensuring a satisfying experience. It’s essential to have tools that are designed for small-scale work as this will improve the precision and quality of your custom diecast.
Essential Tools for Customization
Essential tools include a set of small screwdrivers (Phillips and flathead), hobby knives with sharp blades, pliers (needle-nose and side cutters), sandpaper of various grits (fine to coarse), and a cutting mat to protect your work surface. You’ll also need paint supplies like primer, paints (acrylic or enamel), paintbrushes (various sizes), airbrush (optional but recommended for a professional finish), and masking tape. Other useful items include super glue, plastic glue, putty or filler, and a magnifying glass for detailed work. Invest in high-quality tools to ensure durability and precision.
Choosing the Right Diecast Model
The foundation of any diecast 64 custom project is the model car itself. Choosing the right model is essential for a successful and enjoyable customization experience. Consider the following factors to make an informed choice. Not all diecast models are created equal. Some are better suited for customization than others due to factors like build quality and design details.
Types of Diecast Models to Customize
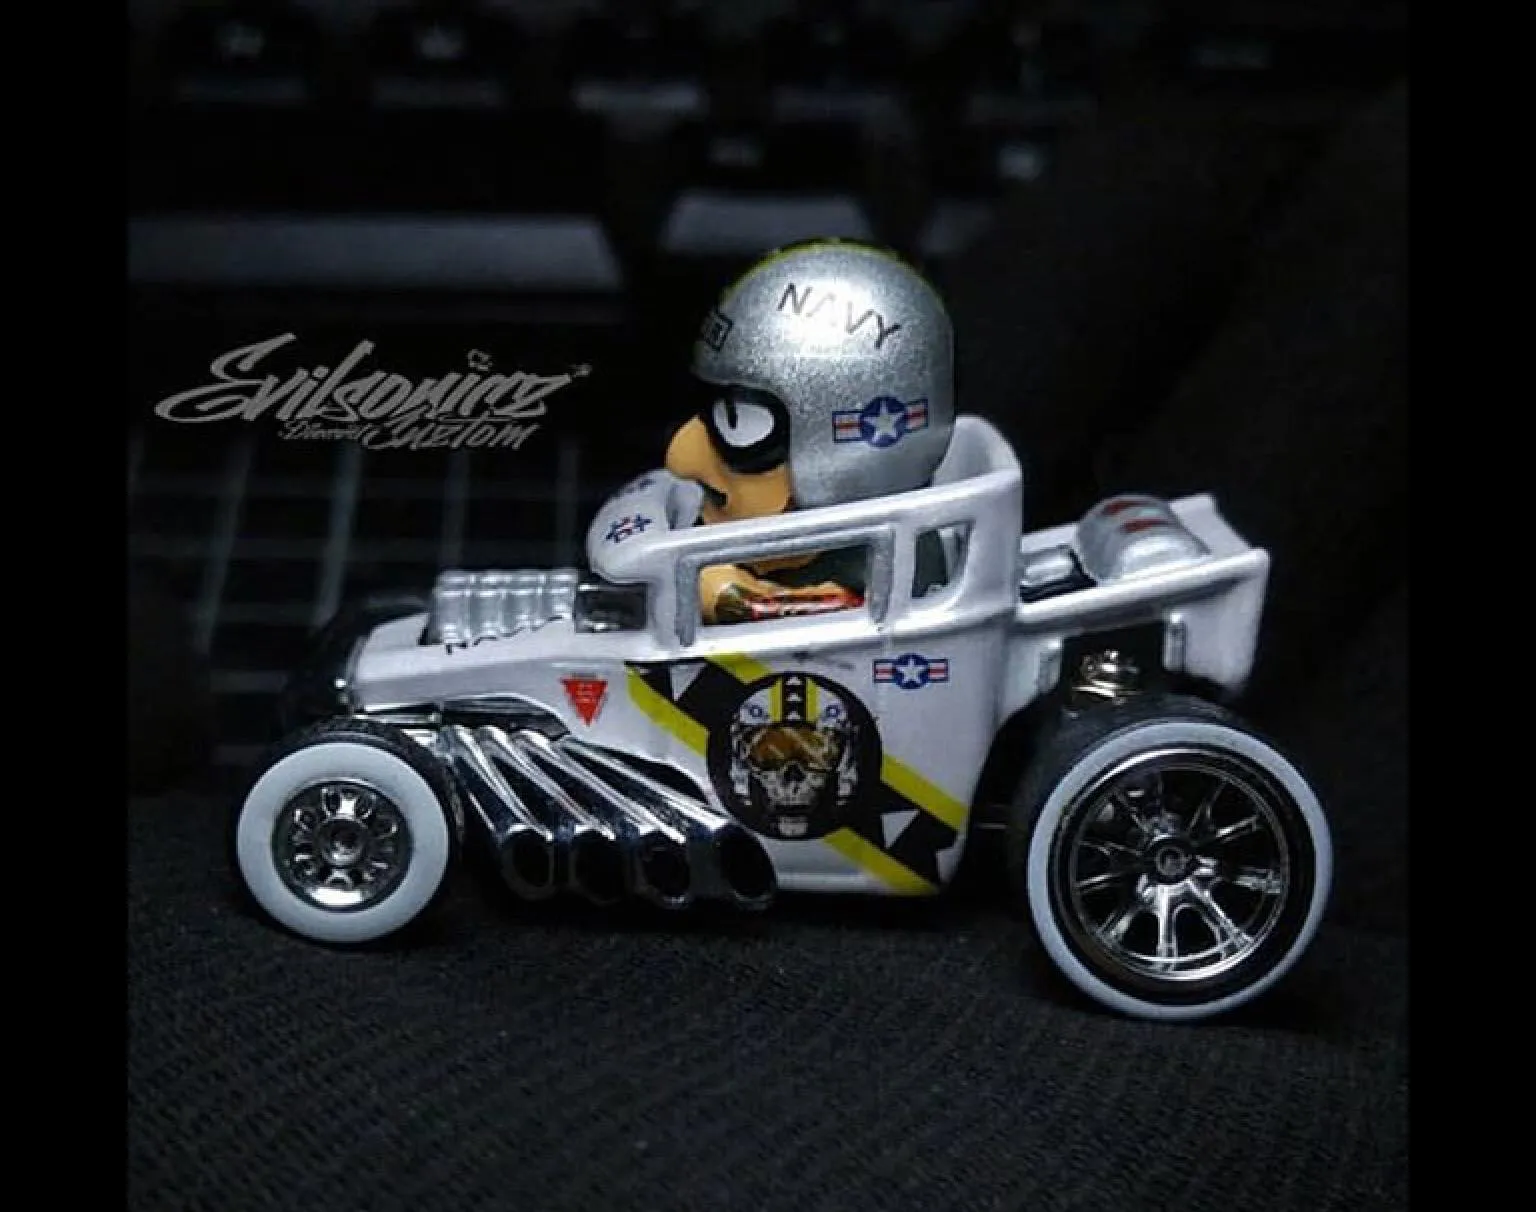
Look for models with a good level of detail and a simple design. Models with fewer intricate parts are usually easier to disassemble and customize. Popular brands for 1:64 diecast include Hot Wheels, Matchbox, and various other manufacturers. Hot Wheels offer a wide variety of models, and their diecast vehicles are usually a good starting point, offering a balance of price and detail. Matchbox models are generally known for their realism. Consider the level of detail you want to achieve and select a model that suits your skill level. For beginners, it’s often best to start with simpler models before moving on to more complex projects.
Preparing Your Diecast 64 for Customization
Before you begin any customization work, properly preparing your diecast 64 model is crucial. This involves careful disassembly, cleaning, and paint removal. Taking the time to prepare your model will ensure a smoother process and a higher-quality final product. This stage sets the stage for all the subsequent modifications.
Disassembly and Cleaning
Carefully disassemble the model using the appropriate tools. Start by removing the baseplate screws, and then gently separate the body from the chassis. Be mindful of any small parts like mirrors, lights, and interior components, and place them in a safe location. Once disassembled, clean the body and chassis with warm, soapy water to remove any dirt, grease, or fingerprints. Use a soft brush or cotton swabs to reach into tight areas. Ensure the parts are completely dry before moving on to the next step. This step is vital to remove any dust or residue.
Removing Paint and Detailing
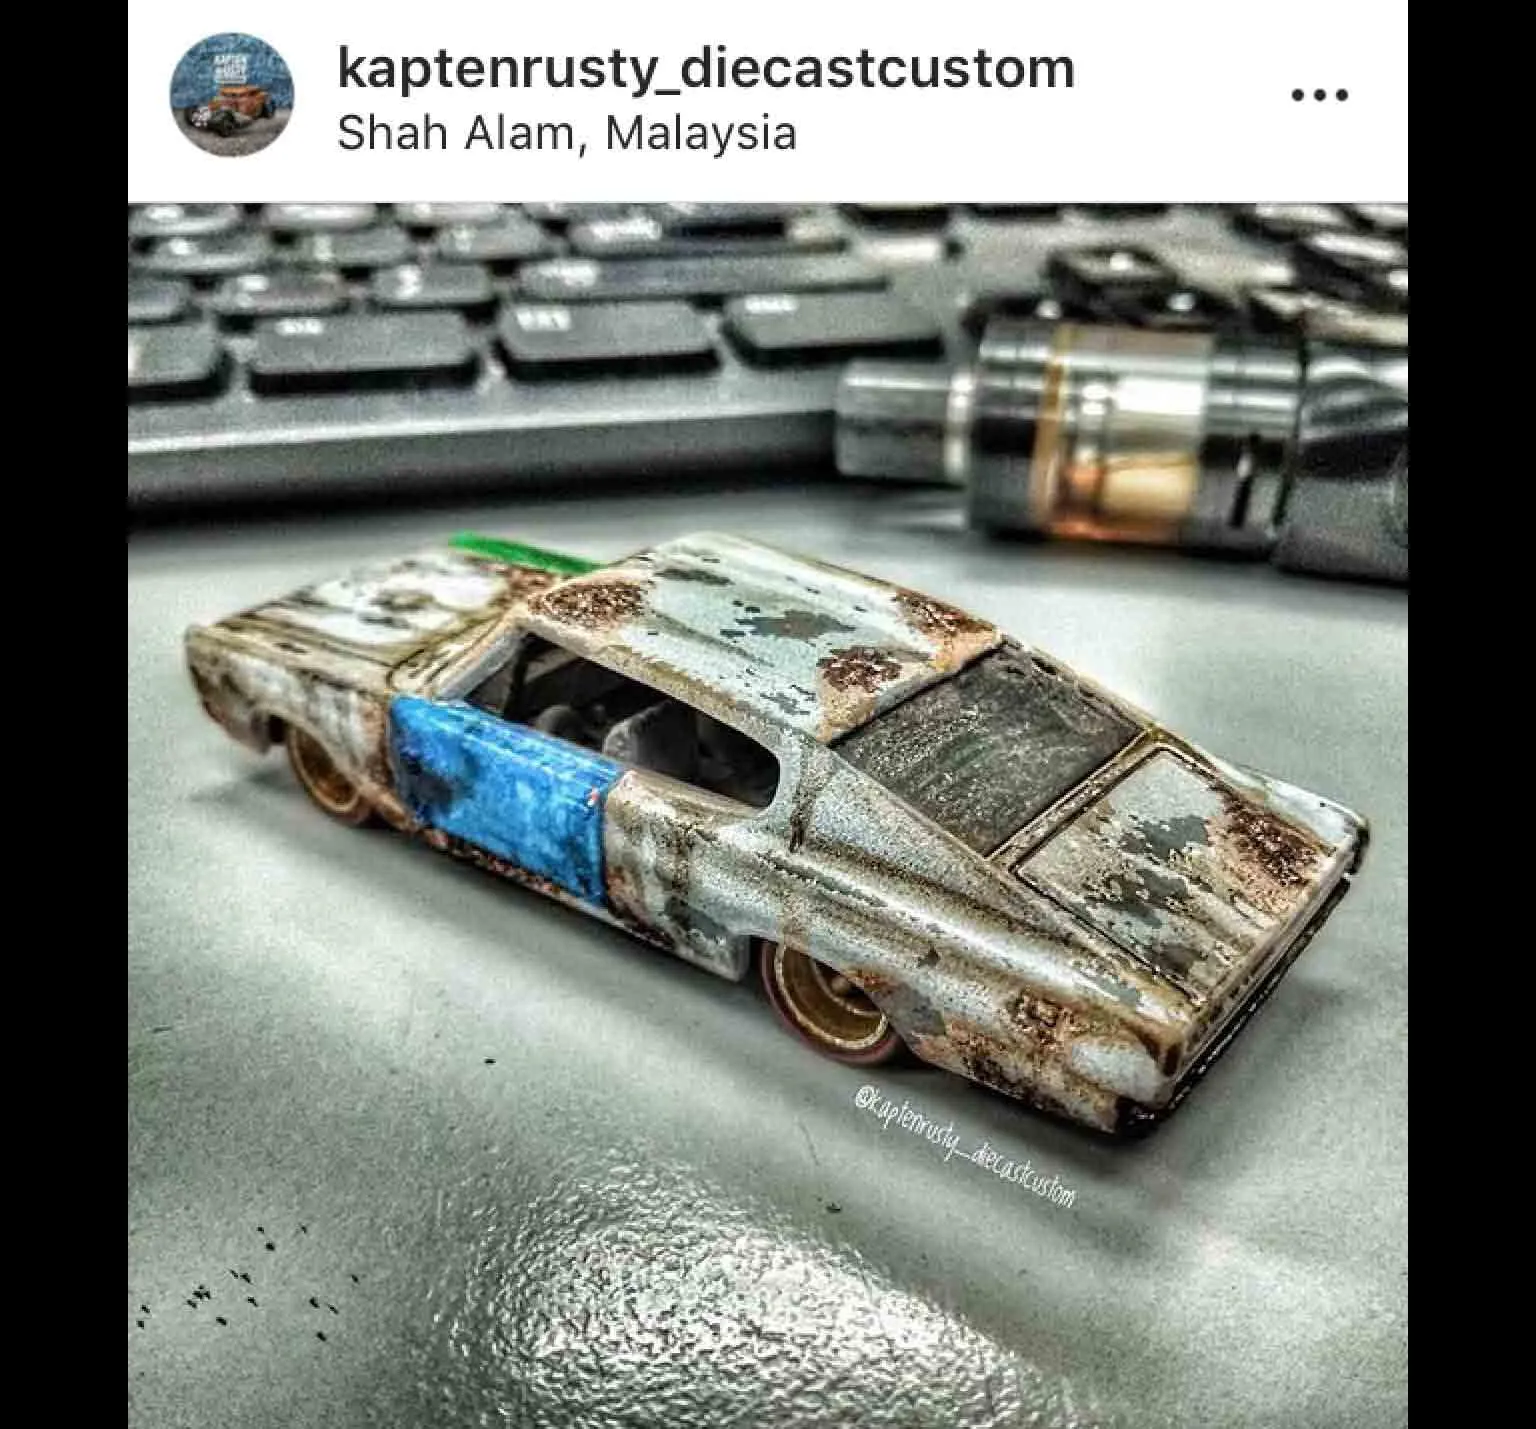
Removing the original paint is often necessary to apply custom paint schemes. There are several methods to do this, including using paint strippers or sanding the paint off. For paint strippers, use a suitable product designed for metal models, and follow the manufacturer’s instructions carefully, using adequate ventilation and safety precautions. For sanding, use fine-grit sandpaper and work slowly, taking care not to damage the underlying metal. Detailing includes removing factory details. Once the paint is removed, inspect the model for any imperfections and use putty or filler to smooth out any flaws. Sand down any remaining imperfections before moving to the next step.
Painting Techniques for Diecast 64 Custom
Painting is a key element of diecast 64 customization, allowing you to transform the appearance of your model. Achieving a professional-looking finish requires proper preparation, the right techniques, and the right equipment. Consider the paint type, the tools you will use, and the environment you are in.
Primer and Base Coats
Before applying any color coats, apply a primer. Primer helps the paint adhere to the metal surface, providing a smooth base. Choose a primer suitable for metal models, and apply thin, even coats, allowing each coat to dry completely before applying the next. Once the primer has dried, you can apply the base coat. Acrylic paints are a popular choice for their ease of use and availability. You can use an airbrush for a smooth, professional finish or use spray cans for a quick solution. Apply multiple thin coats, building up the color gradually, and avoid applying thick coats, which can lead to runs and drips.
Applying Colors and Finishes
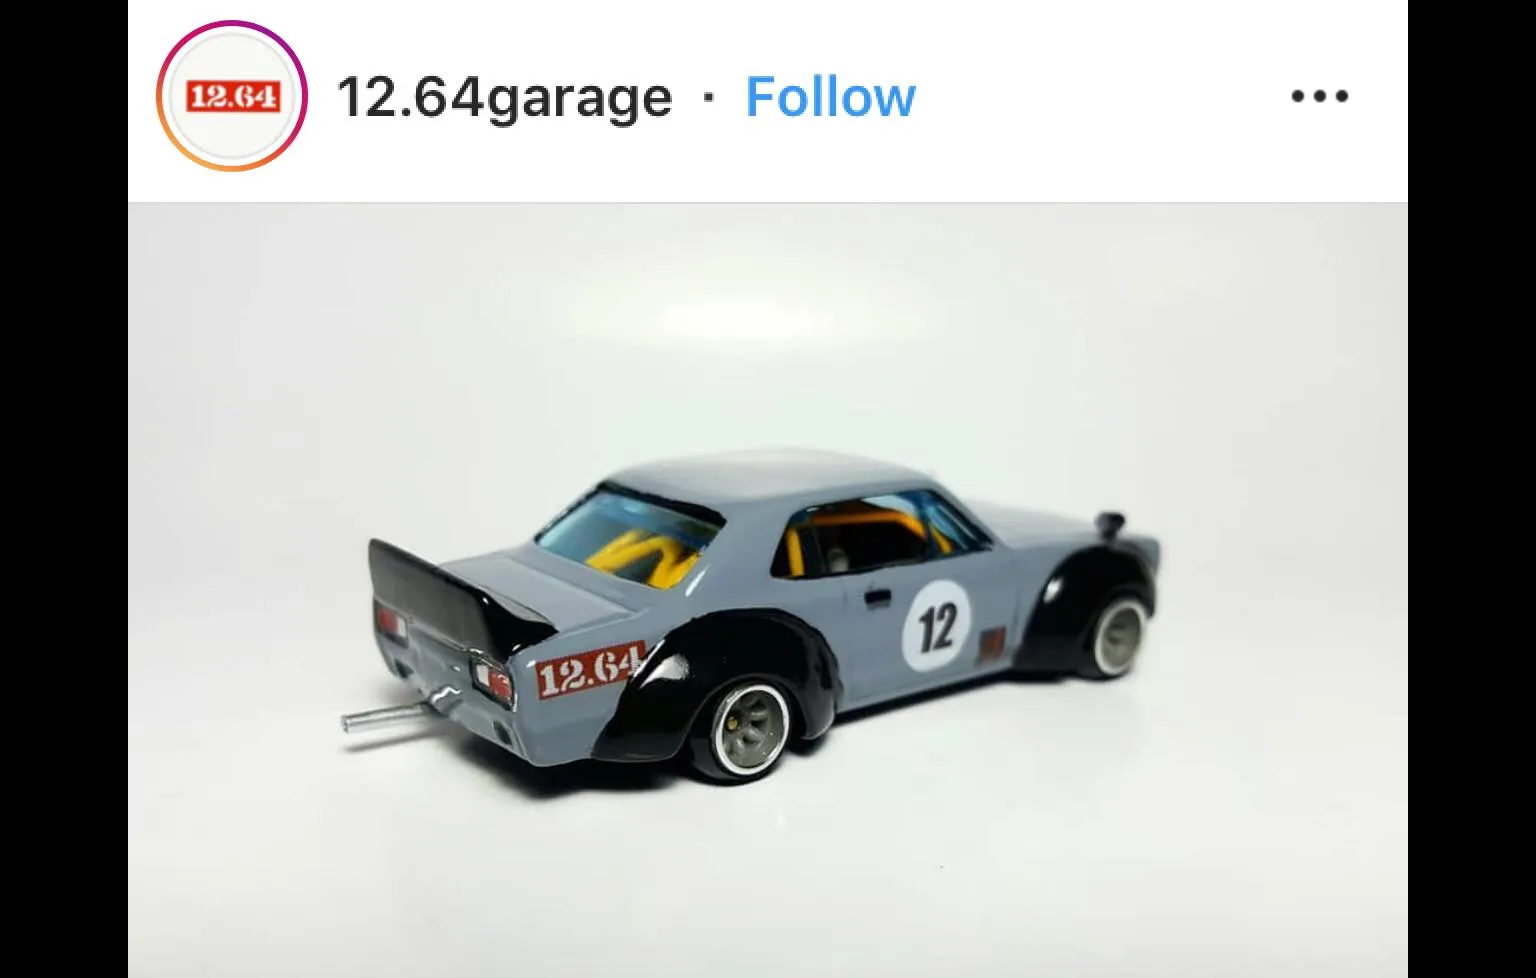
Once the base coat is dry, you can begin applying your desired colors and finishes. Use masking tape to create clean lines for multi-color schemes. Apply thin coats and let them dry before removing the tape to prevent any paint from peeling. Consider using clear coats and applying a gloss or matte clear coat to protect the paint. Clear coats add a protective layer and add a professional appearance to your work. Always allow each layer to dry completely. Experiment with different colors, finishes, and techniques to achieve the desired look.
Detailing and Decals
Detailing is where you can make your diecast 64 model truly unique. Adding small details can significantly enhance the realism and visual appeal of your custom creation. Attention to these minute elements often separates a good custom from a great one.
Adding Realistic Details
Use fine-tipped paintbrushes or pens to add details like headlights, taillights, grilles, and emblems. Use small strips of tape to create precise lines. Use weathering techniques, such as washes and dry brushing, to add depth and realism. You can also use aftermarket parts such as photo-etched parts for grilles, and scale accessories such as custom wheels. Paint the interior components. Focus on adding the small details that bring your custom model to life.
Applying Decals and Markings
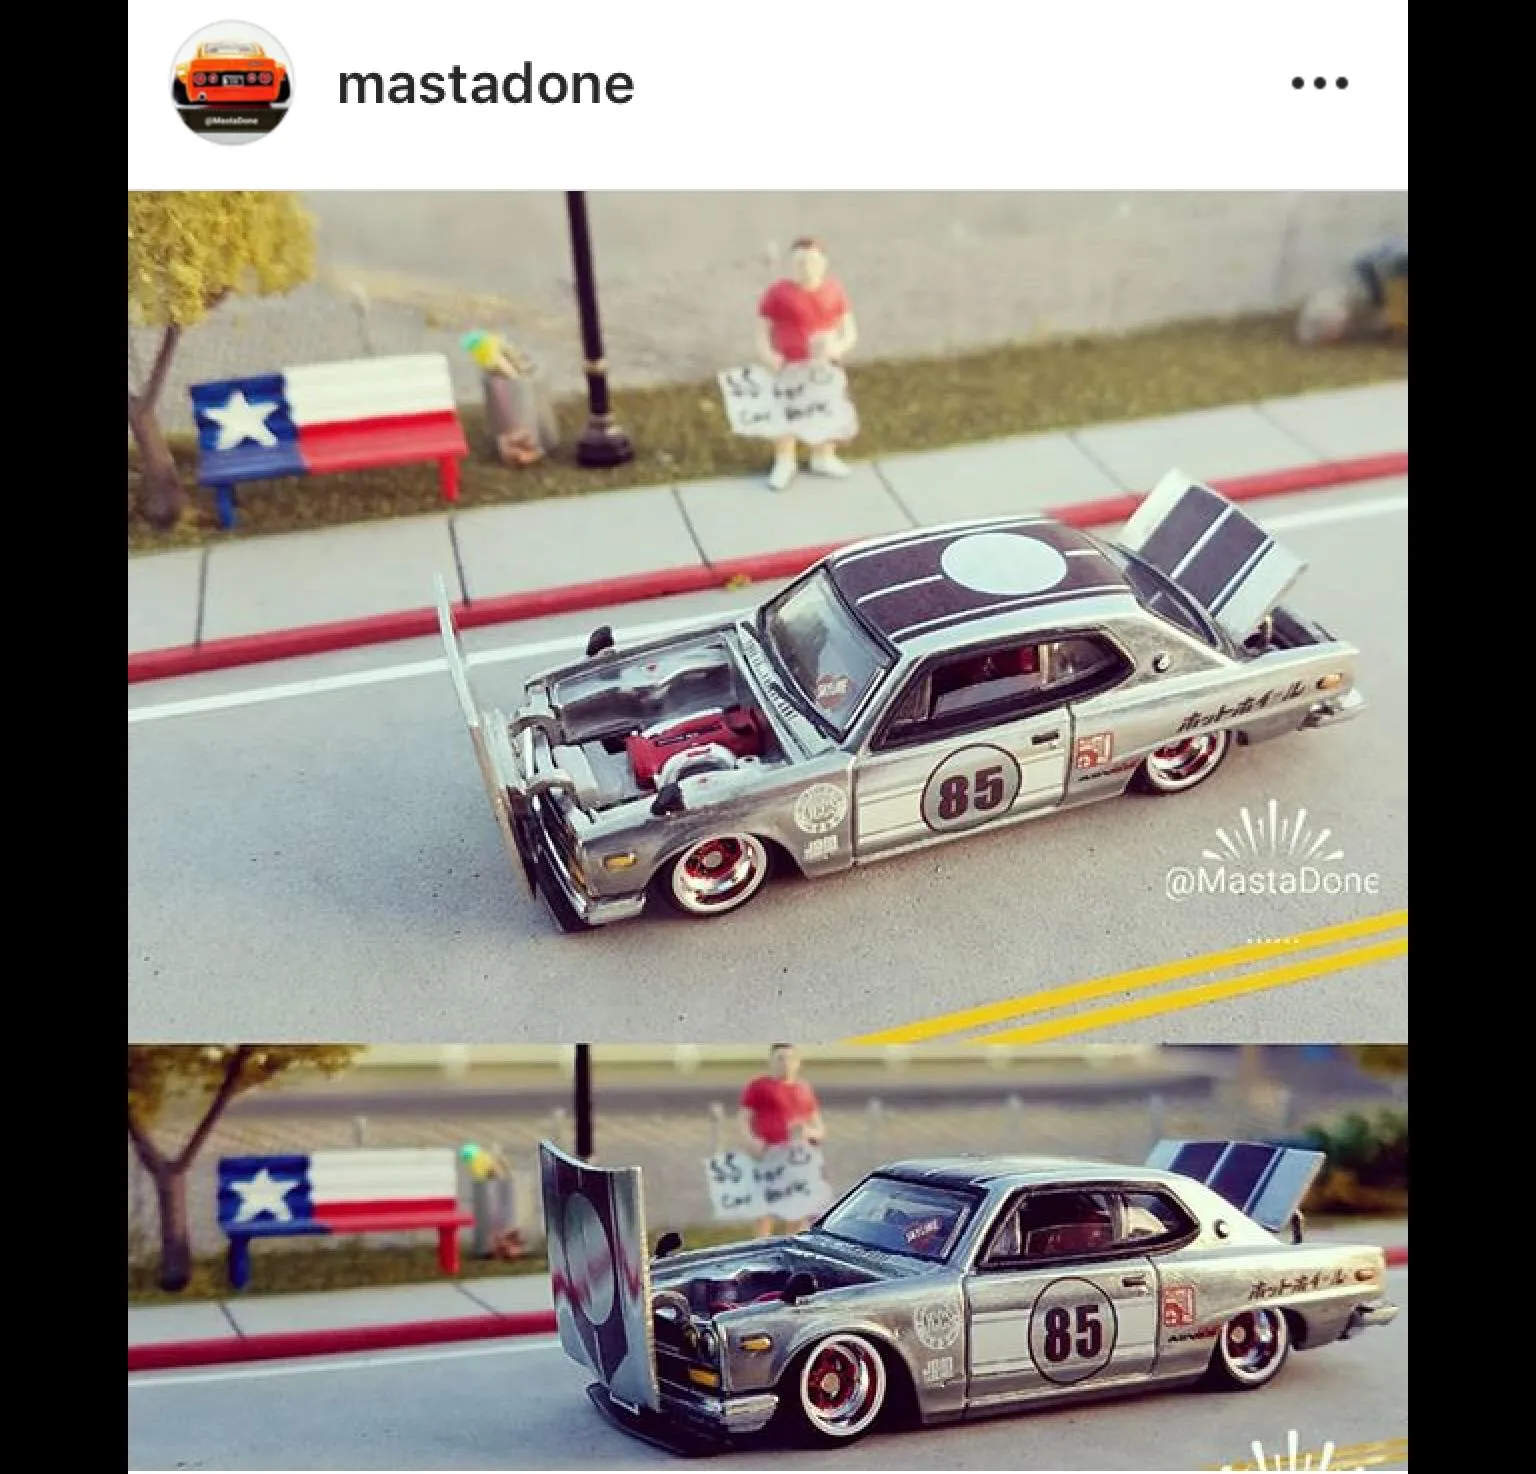
Decals are a great way to add graphics, logos, and other markings to your model. Cut out the decals, and soak them in warm water for a few seconds. Apply the decal to the model surface, using a soft cloth or cotton swab to remove any air bubbles or excess water. Apply decal setting solutions and decal solvent. Using solutions will help the decal conform to the model’s surface and enhance its appearance. Consider using a clear coat over the decals to protect them and blend them seamlessly into the paint finish. Carefully apply decals to add realism to your models.
Assembly and Finishing Touches
After all the painting, detailing, and decaling is complete, it’s time to reassemble the model. This final stage brings all your hard work together, transforming individual parts into a cohesive, beautiful piece. Pay careful attention to the small details and make sure all parts are correctly attached.
Reassembly and Final Inspection
Carefully reassemble the model, following the reverse order of the disassembly process. Ensure all parts fit snugly and securely. Double-check that all screws and other fasteners are tightened properly. Inspect the model for any imperfections. Make sure the wheels spin freely and that all the components are in the correct position. Perform a final inspection to identify any areas that might require touch-up or adjustment.
Protecting Your Custom Diecast 64
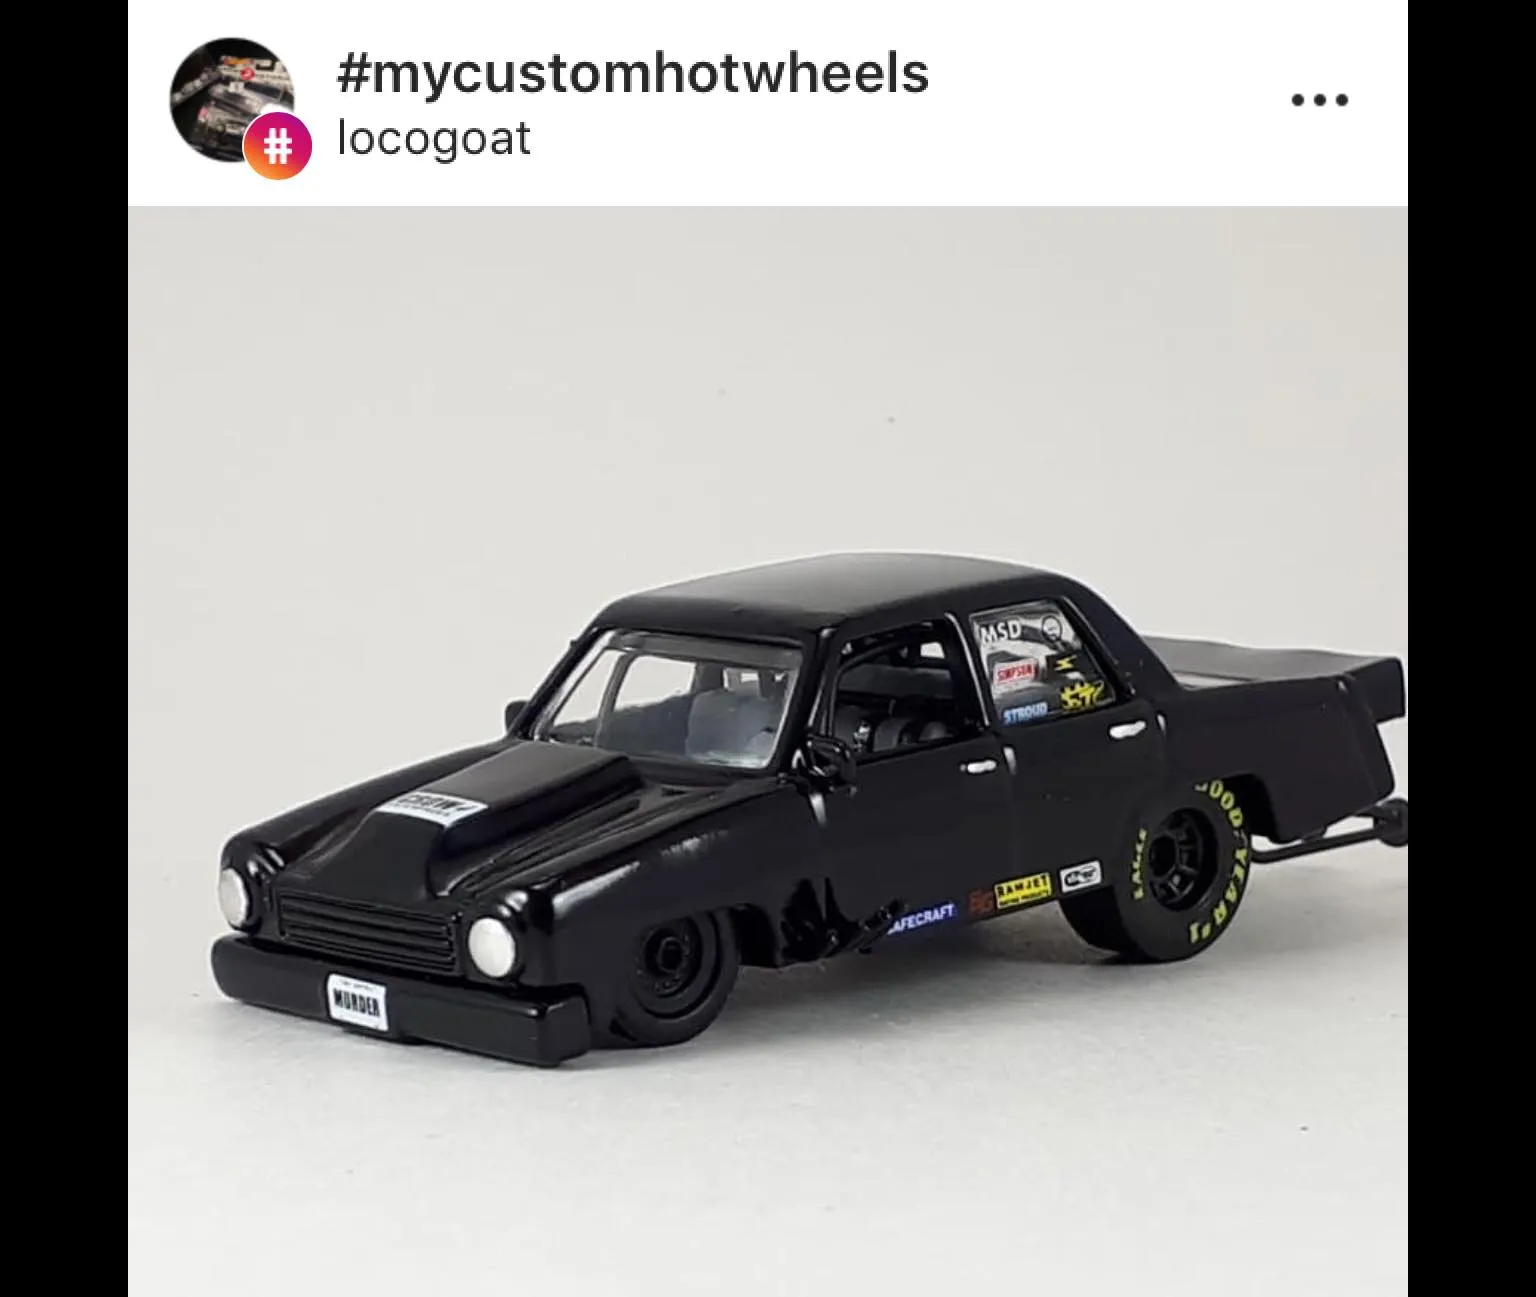
Once you’ve finished your diecast 64 custom, it’s essential to protect your hard work. Proper care and maintenance will ensure your models retain their beauty and value over time. Proper storage is key to protecting your models, keep them away from direct sunlight and dust. Regularly clean your custom model with a soft cloth and avoid using harsh chemicals or abrasive materials. Display your models in a dust-free case or on a shelf away from direct sunlight to prevent fading or damage.
Displaying and Caring for Your Collection
The way you display your custom models can significantly enhance their visual appeal. Choose a display case that suits your style and collection size. Arrange your models in an organized manner, such as by brand, make, or theme. You can also use lighting to highlight your custom creations, creating a more immersive viewing experience. Regularly clean your display case and your models. Take great care of your collection and store them properly to prevent damage and maintain their beauty.
Resources and Further Learning
There are numerous resources available to help you on your diecast 64 custom journey. Join online forums and social media groups to connect with other enthusiasts, share your work, and get feedback. There are also numerous video tutorials available on YouTube and other platforms, providing step-by-step instructions and demonstrations. Local model car clubs often host events and workshops where you can meet fellow hobbyists and learn new techniques. Explore various online retailers for models and accessories, and invest in quality tools and materials. Continuously learn and refine your skills, and most of all, enjoy the process of creating and customizing your own diecast 64 models.
