Understanding Diecast Metal and Glue
Diecast metal models are cherished by collectors and hobbyists alike. These miniature replicas, crafted from a mold using molten metal alloys, offer intricate detail and a satisfying weight. However, the delicate nature of these models often necessitates repairs, modifications, or even complete assembly. This is where the right adhesive becomes critical. Choosing the best glue for diecast metal is essential for ensuring durability, longevity, and preserving the aesthetic value of your prized possessions. This guide will navigate the complexities of selecting the perfect glue, covering material compatibility, application techniques, and the top products available. Knowing the nuances of both diecast metal and the various types of adhesives available empowers you to make informed decisions, leading to successful repairs and modifications that will stand the test of time. So, whether you are a seasoned collector or a newcomer to the world of diecast models, read on to discover the secrets to achieving a strong and lasting bond.
What is Diecast Metal?
Diecast metal refers to objects manufactured using a die casting process. This process involves injecting molten metal, typically alloys of zinc, aluminum, magnesium, or tin, under high pressure into a mold or die. The high pressure allows for intricate detailing and precise replication of shapes, which is what makes diecast models so attractive and detailed. The resulting objects are known for their durability, intricate detail, and satisfying weight, characteristics that make them highly desirable among collectors. The common metals used are alloys because of their balance of strength, melting point, and cost-effectiveness. Understanding the composition of your diecast model is crucial, as different metals may react differently to various glues. Always check the model’s specifications or conduct a small test to determine the alloy used before applying any adhesive. This proactive approach can prevent unwanted chemical reactions and ensure the longevity of your model. The choice of the right adhesive will depend on the type of diecast metal and the specific application.
Why Glue is Important

Glue is not just a tool, it is the fundamental building block for restoration, modification, and assembly of diecast metal models. Diecast models are often composed of multiple parts that must be joined together to create a complete and accurate replica. A strong and reliable bond is crucial for the model’s structural integrity, allowing it to withstand handling, display, and potential accidental impacts. Without a strong adhesive, the model is vulnerable to falling apart. Beyond structural integrity, glue also plays a significant role in the model’s overall aesthetic. The right adhesive ensures that the parts fit together seamlessly, minimizing gaps and creating a polished finish. This attention to detail is what separates a professionally assembled model from one that appears haphazardly put together. Furthermore, using the correct adhesive can protect the model from future damage. Some glues are formulated to resist environmental factors, such as temperature changes and moisture, thereby preserving the model’s appearance and value over time. The choice of glue is thus an investment in both the model’s functional durability and its visual appeal.
Factors to Consider When Choosing Glue
Selecting the best glue for diecast metal requires careful consideration of several key factors. These factors influence the success and longevity of your project, ensuring that the repaired or assembled model remains intact and visually appealing. The key factors include material compatibility, strength requirements, and application method. Ignoring these factors can lead to unsatisfactory results, from weak bonds to damage to the model. It’s essential to prioritize these considerations to achieve a result that meets your standards. By taking the time to understand these elements, you’ll be well-equipped to choose the best glue and achieve the desired outcome for your diecast metal projects.
Material Compatibility
One of the most critical considerations when choosing an adhesive is material compatibility. Different glues are formulated to bond effectively with specific materials. It is essential to select a glue that is compatible with the metal alloys used in your diecast model. Some glues may not adhere properly to certain metals, resulting in a weak bond. Others may react with the metal, causing corrosion or discoloration. Always verify the manufacturer’s recommendations and the glue’s intended uses. Understanding the specific metals in your model will help you choose the correct adhesive. Common metals in diecast models include zinc alloys, aluminum, and tin alloys, so ensure the glue is specifically designed for use with these materials. If unsure, test the glue on an inconspicuous area of the model before applying it to a visible area.
Strength Requirements

The strength requirements of the bond is another crucial consideration. The specific application will determine how much stress the bond needs to withstand. If you are gluing a small, non-load-bearing part, such as a mirror, a less robust adhesive may suffice. However, if you are repairing a structural element like a chassis component, you will need a glue that offers high tensile and shear strength. Consider the size and weight of the parts being joined. Larger or heavier parts will require a stronger adhesive. Assess how the model will be used. If it is for display only, the strength requirements might be less than for a model that is frequently handled or played with. Epoxy resins and certain types of cyanoacrylate glues (super glue) are known for their high strength and durability, making them ideal for demanding applications. Selecting the correct strength adhesive ensures that the bond will withstand the stresses it will face.
Application Method
The application method of the glue can affect the overall success. Consider the design of the model and the parts you are working with. Some glues are better suited for certain application methods. For example, glues that come with a precision applicator will work very well on intricate models. The environment where the gluing will take place matters, so think about the temperature and humidity. Some glues cure faster in specific conditions. Consider the open time or working time of the glue. This is the time you have to position and adjust the parts before the glue starts to set. If you need more time to align the parts, choose a glue with a longer open time. Make sure you have all the necessary tools for applying the glue, such as applicators, clamps, and surface preparation materials. Careful application of the glue will result in a professional bond.
Top 5 Glues for Diecast Metal
Selecting the best glue for diecast metal can seem challenging with so many options available, so here are the top 5 recommended glues. Each has its strengths and weaknesses, and the best choice depends on the specific application. When choosing, remember to prioritize material compatibility, strength, and ease of use. These five glues will help you make informed decisions and achieve strong and reliable bonds. Consider these options for your next diecast metal project.
Super Glue/Cyanoacrylate

Super glue, also known as cyanoacrylate glue (CA), is a popular choice for diecast metal models due to its fast-setting properties and strong bond. Super glues are known for their versatility and can be used on many materials. They are especially effective for bonding small parts and for quick repairs. Several formulations are available, including those with added flexibility or impact resistance. These formulations will make the model more resilient to shocks. Some super glues come with precision applicators, which helps with accuracy when applying the glue to small parts. However, super glues can be brittle, so they are not always suitable for applications with high stress or movement. They also require careful handling, as they can bond skin instantly. Super glues offer many benefits when repairing diecast metal models, making them a staple for any hobbyist.
Epoxy Resin
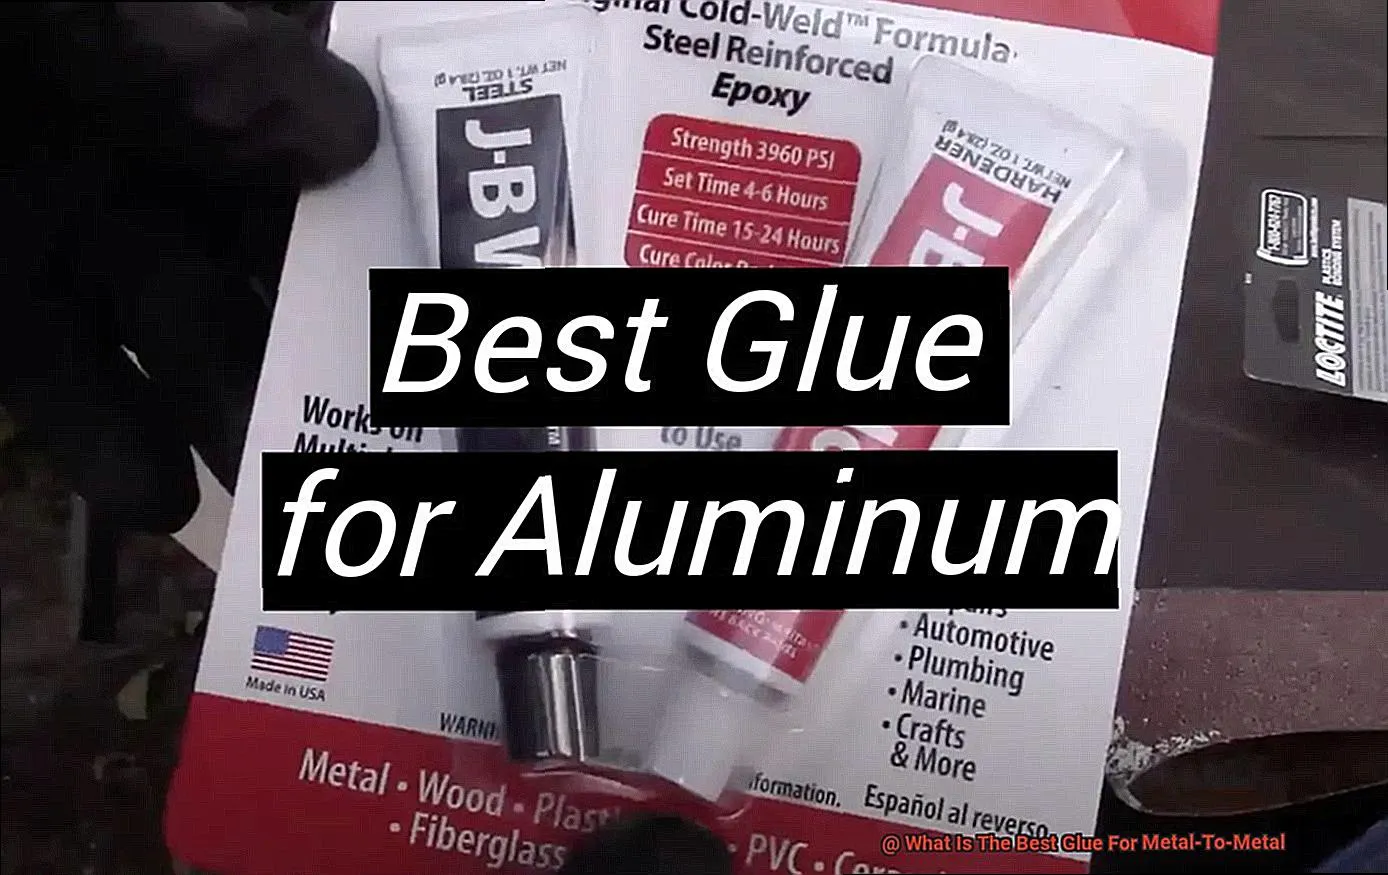
Epoxy resin is a high-strength adhesive that is ideal for demanding applications in diecast metal models. Epoxies are known for their excellent bonding properties, durability, and resistance to environmental factors such as moisture and temperature fluctuations. Epoxy comes in two parts, a resin and a hardener, which must be mixed to activate the adhesive. This two-part system allows for a long working time and precise positioning. Epoxy resins are very strong and can withstand high levels of stress, making them perfect for structural repairs. They offer good gap-filling capabilities, which is helpful if the parts do not fit perfectly. The curing time of epoxy resins can vary, so it’s important to follow the manufacturer’s instructions. However, epoxies often require a longer cure time. When properly cured, epoxy resins create a solid bond that can last for many years. They are an excellent choice for serious modelers.
CA Glue with Activator
CA glue with an activator combines the benefits of super glue with the added speed and control of an activator. Activators are usually a spray or liquid that speeds up the curing process. This combination makes it easier to work with and allows for precise alignment. When using CA glue with an activator, apply the glue to one surface and the activator to the other. This instant bond is beneficial when working with multiple parts or when needing a strong bond quickly. Activators can also be used to fill small gaps. CA glue with an activator is a versatile adhesive solution. However, it’s important to use these products with care, as the activator can sometimes cause discoloration if applied excessively. Use this combination of glue with precision to achieve the best results.
Polyurethane Glue

Polyurethane glue is another option for diecast metal models, known for its flexibility and strength. This adhesive forms a durable bond that can withstand vibrations and impacts. It is suitable for applications where the model might experience some movement or stress. Polyurethane glues are resistant to water and many chemicals. They are also excellent for filling gaps, which can be useful if the parts don’t fit perfectly. Polyurethane glue expands slightly as it cures, so apply it sparingly to avoid excess glue. This expansion can help fill minor gaps. Polyurethane glue is also available in different formulations. Choose a formulation that suits the specific needs of your model. Polyurethane glue is an excellent choice for models that need a durable and impact-resistant bond.
Specialty Glue for Diecast Models
In addition to the general-purpose glues mentioned, some specialty glues are formulated specifically for diecast metal models. These specialized adhesives are often designed to address unique challenges. They are often designed to offer optimal bonding with the specific metals used in diecast models. Some specialty glues may include a special primer that enhances adhesion. Other options are glues that are designed to match the colors and finishes of the model. These specialized glues simplify the process of model repair and modification. When selecting a specialty glue, always check the manufacturer’s recommendations to ensure compatibility with your model’s materials. These specialty products provide excellent results if you want professional-looking finishes.
How to Prepare Surfaces for Gluing
Proper surface preparation is the most crucial step in ensuring a successful bond. It significantly affects the adhesion strength and the overall outcome of your project. The steps needed to prepare the surface will depend on the condition of the parts, the type of glue, and the specific application. However, thorough cleaning and surface preparation is a good starting point for all projects. Neglecting to clean and prepare the surfaces can lead to weak bonds and poor aesthetic results. By taking the time to properly prepare the surfaces, you will enhance the performance of the chosen glue and achieve better results with your model.
Cleaning the Parts

Begin with cleaning the parts. The removal of contaminants like dirt, oil, grease, and old glue is the first step toward a secure bond. Any of these contaminants can create a barrier between the glue and the metal, which can weaken the bond. Use a suitable cleaning agent and apply it to the metal, such as isopropyl alcohol or a specialized degreaser. Be sure to select a cleaner that is safe for the materials in your model. Gently wipe the surfaces with a soft, lint-free cloth. Avoid using abrasive cleaners or scrub brushes that might scratch the surface. If the model has been previously glued, remove any residue from old glue. Allow the parts to dry completely after cleaning. These steps will prepare the metal for the adhesive.
Surface Preparation Techniques
After cleaning, consider surface preparation techniques to further improve adhesion. These techniques can increase the surface area for the glue to bond with. Lightly abrading the surfaces with fine-grit sandpaper can create a rougher texture, which improves the mechanical bond. However, be cautious not to over-sand and damage any details. For delicate parts, a specialized abrasive pad might be a better option. Another method is using a primer designed for metal surfaces. Primers create a base layer and improve the glue’s ability to bond with the metal. Always follow the primer manufacturer’s instructions. For more complex models, consider using a specialized adhesion promoter. These promoters are designed to work with specific glue types and increase the effectiveness of the bond. These preparation techniques can drastically improve the bond quality.
Applying the Glue
The process of applying glue is a fundamental part of model building. Correct application ensures a strong and neat bond. The steps you will take will depend on the type of glue and the specific parts of the model. However, there are some general guidelines that apply to most situations. Following these guidelines will help you maximize the effectiveness of the adhesive and achieve the best results with your diecast metal projects.
Step-by-Step Gluing Guide

Begin by gathering all the necessary tools and materials, including the glue, applicators, clamps, and any surface preparation materials. Read the manufacturer’s instructions for the glue. These instructions will provide specific guidance on how to mix, apply, and cure the adhesive. Apply the glue to one or both surfaces, following the manufacturer’s recommendations regarding the amount of glue needed. Avoid applying too much glue, as this can lead to messy joints. Once the glue is applied, carefully align the parts. For more complex models, using clamps or tape to keep the parts in place can be very helpful. Remove any excess glue with a clean cloth or appropriate solvent. Allow the glue to cure completely. This curing time depends on the specific glue. Once the glue is cured, inspect the bond for any gaps or weaknesses. If needed, you can touch up the bond with a bit more glue. These steps will help you achieve a strong and neat bond.
Curing and Drying Times
Curing and drying times refer to the period the glue takes to reach its full strength. Understanding these times is essential to ensure a robust and lasting bond. The curing time varies depending on the type of glue, the environmental conditions, and the materials being bonded. Cyanoacrylate glues, or super glues, have a rapid setting time, sometimes only a few seconds. However, they may require several hours to cure completely. Epoxy resins typically have longer curing times, often ranging from several hours to a full day. Environmental conditions, such as temperature and humidity, can also affect the curing time. Generally, higher temperatures speed up the curing process. Always follow the manufacturer’s instructions. Avoid putting stress on the bond until the glue is fully cured. Rushing the process can compromise the strength of the bond. Allowing sufficient curing time is essential for the best results.
Finishing and Detailing
Once the glue has fully cured, you can move on to the finishing and detailing stage. This is where you can improve the appearance of the finished model. The post-gluing process can hide any imperfections and make the model appear professional. The finishing process includes tasks like trimming excess glue, filling gaps, and painting. Taking the time to do finishing and detailing steps will greatly improve the overall outcome of your diecast model. The steps you take during finishing and detailing will make sure the model has a professional look.
Post-Gluing Inspection

Once the glue has dried, carefully inspect the bond. Inspect for any gaps, misalignment, or excess glue. If you find any issues, you can address them with touch-up work. Use a hobby knife or other tool to carefully trim any excess glue. Remove any unwanted glue with a solvent and a cloth. If there are any gaps, you can fill them with more glue. Some modelers will fill gaps with putty. Check that the parts are aligned correctly and that the bond is secure. Performing a thorough inspection will help you identify any problems before you move on to the next steps of the project. A thorough inspection is crucial for ensuring the quality and longevity of your model.
Tips for a Successful Bond
To ensure your diecast metal models have a successful bond, consider a few additional tips. Always work in a well-ventilated area. Some glues release fumes that can be harmful. If you are using cyanoacrylate glues (super glues), avoid getting it on your skin. If it does come in contact with your skin, separate the bonded skin with warm water and a blunt object. If you are new to model building, practice with scrap pieces. This will allow you to test the glue and perfect your technique before working on your valuable model. Invest in quality tools, such as precision applicators, clamps, and hobby knives. These tools will make the gluing process easier and more precise. Store your glues properly. Keeping them in a cool, dry place will extend their shelf life. With these tips, you will be ready to complete any model-building project.
Troubleshooting Common Issues
Even when you follow all the steps, you can still run into problems when gluing diecast metal models. Knowing how to solve these issues will help you achieve the best results. If the bond is weak, it is usually due to poor surface preparation or using the wrong type of glue. Make sure the surfaces are clean and properly prepared before applying the glue. If the parts do not align correctly, the glue may not be the issue. Check if the parts are damaged or warped. You might need to trim the parts or use clamps to hold them in place. If you have excess glue, remove it with a hobby knife or a solvent. If you are using too much glue, it might run or drip, causing a mess. Use the appropriate amount of glue and apply it carefully. With some patience and problem-solving, you will be able to get perfect results.
Conclusion
Choosing the best glue for diecast metal is essential for successful model building. By understanding the different types of glues, the factors to consider, and the surface preparation methods, you can be assured of lasting results. The top 5 glues, including super glue, epoxy resin, CA glue with activator, polyurethane glue, and specialty glues, all offer their unique advantages. Properly preparing the surfaces and applying the glue will set you up for success. Remember to follow the instructions and practice these methods before you begin on your most precious models. With the knowledge and tools, you will be able to build diecast metal models that will become treasured possessions for years to come. Happy modeling!